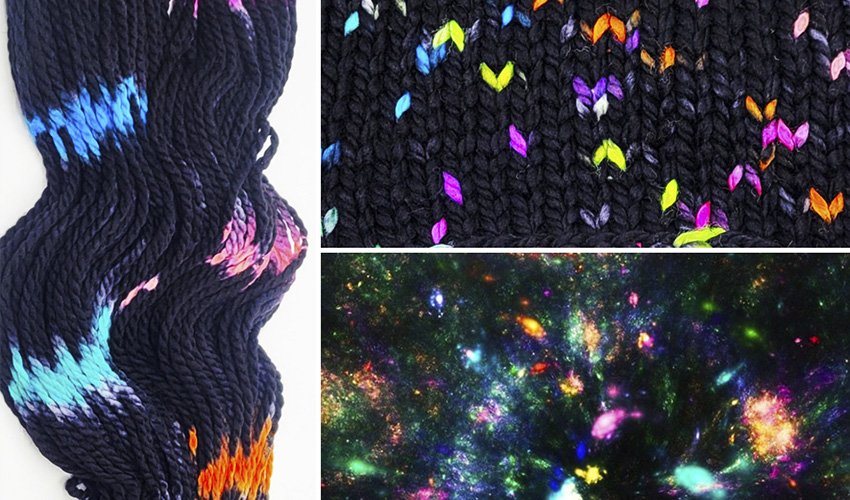
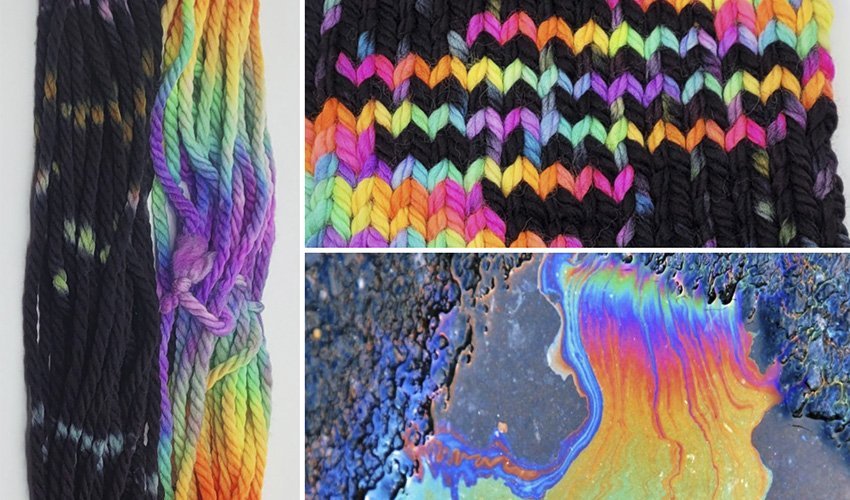
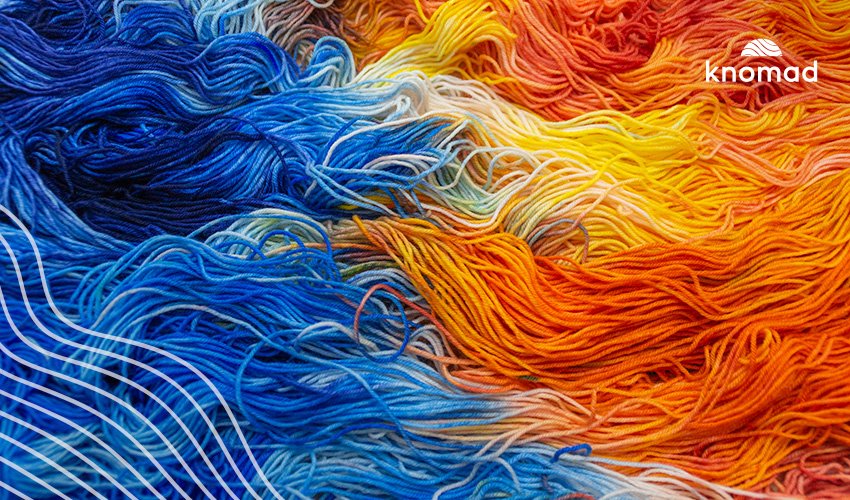
Have you ever wanted to create yarn that knits up like a nebula or an oilslick?
Have you ever worked up a skein of yarn, and the colors stacked in just such a way that it felt like opening a present, you just couldn’t wait to see what happened next? That color stacking or “pooling” can actually be planned! In today’s blog post, I’ll be walking you through how to dye your yarn to achieve an oil slick (direct application) and nebula effect (reverse speckle).
You will need a couple of skeins of your favorite base – today I’m using Salcantay and Tundra, a wonderful set of bulky yarns that dye beautifully and have a perfect, plump ply. Superwash works best with these techniques or low micron non-treated wool. Alpaca and silk bases also work but need a little more effort to get the same effect.
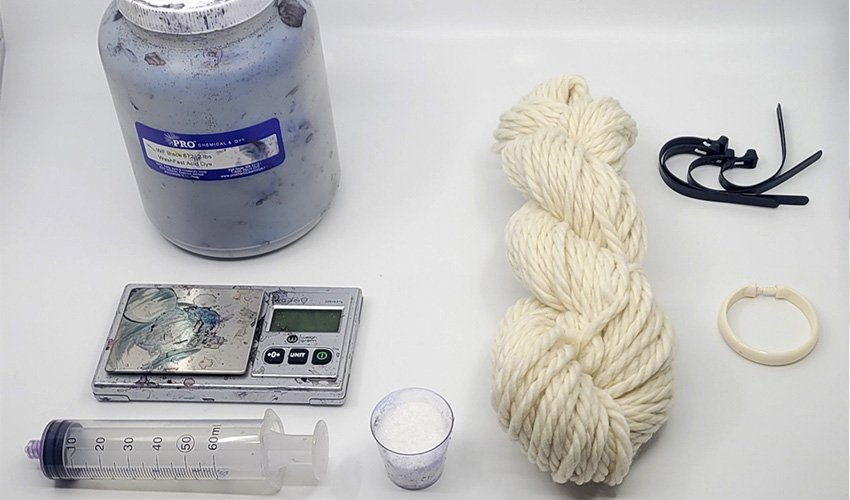
You’ll need a jewelers scale that measures fractions of a gram, a 60 ml Luer lock syringe, citric acid, acid dye, plastic shower rings, and reusable 6” zip ties.
REVERSE SPECKLE
We’re gonna start with phase one of the “reverse speckle” or resist-dyed technique
Isn’t it beautiful!
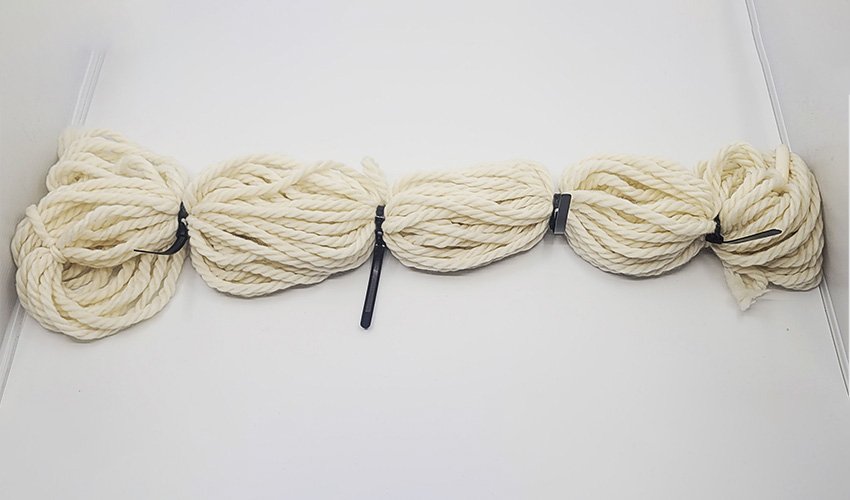
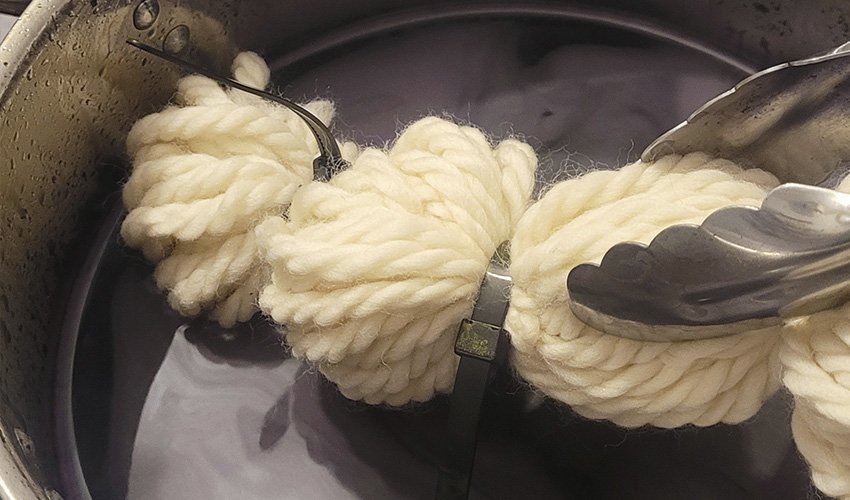
First, you need to determine how many resists you want to tie on. I personally like to use 4 zip ties, tied around the outside of the skein equidistant from each other. It’s a good ratio of speckle to black space.
You can, of course, tie on as many as you want, but at a certain point there’s not enough black space and it becomes a heavy rainbow yarn with a couple of black stitches. If you don’t have reusable zip ties, strong bulky cotton yarn will work, but remember – tie it down as tightly as possible so the dye doesn’t migrate under the ties. The key to this technique is a crisp white resist that we overdye later.
Next, we’re going to measure out 4% degree of strength black dye (black wash-fast acid dye from ProChemical and Dye).
What does that mean? It’s the weight of the dye relative to the weight of the yarn. Since these skeins are 100 grams, 4% is 4 grams of dye. A good reference is .5-1% is a pale shade, 1-2% is a medium shade, 3% is a deep shade and 4% is near black.
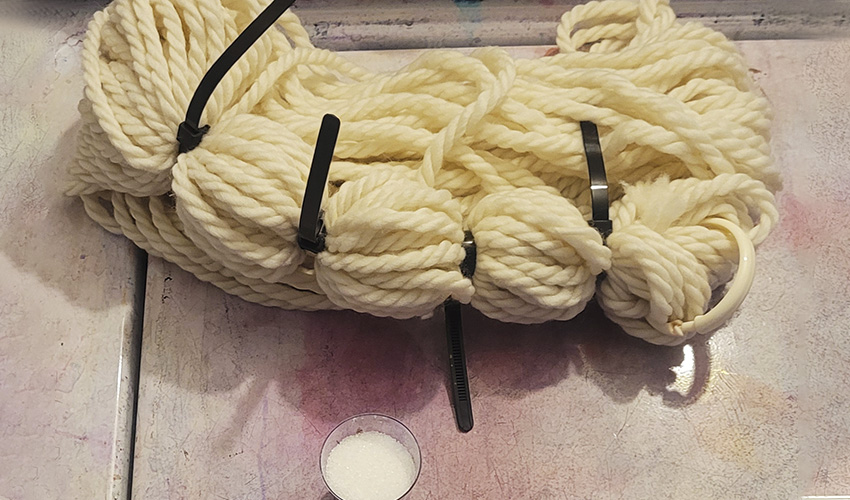
Mix about a teaspoon of citric acid (or ¼ cup white vinegar) into a gallon of hot water in a stainless steel or ceramic pot along with the 4 grams of black dye. *Do NOT use a food pot, anything that the dye touches is only to be used for dyeing. Walmart, Amazon, and the thrift store are excellent sources for stainless steel or ceramic pots.*
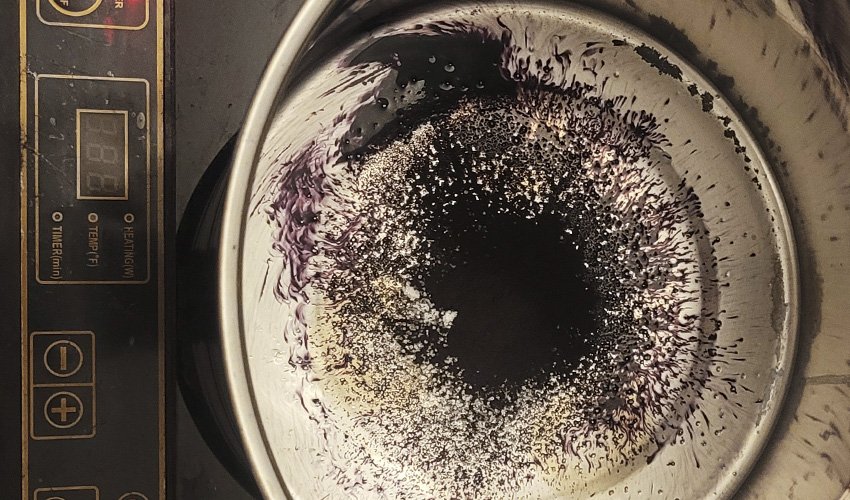
Make sure all of the dye is dissolved, and bring up to just under a boil, about 210 degrees. Then submerge the dry skein in the dye bath, making sure it’s fully saturated. If you wet the skein first, the dye will migrate under the ties. If you put the yarn in cold and bring it up to 210, the dye will migrate under the ties. We do it hot, dry, and highly acidic to encourage a quick dye strike only on the parts of the skein we want it to.
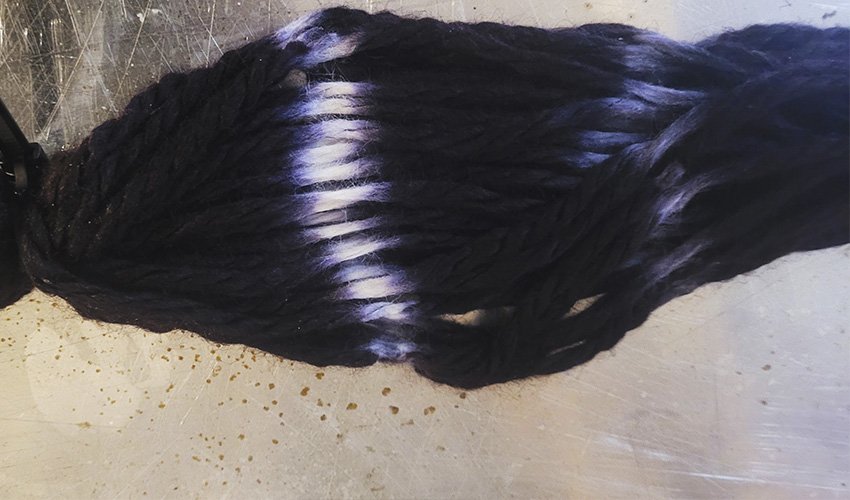
If you’re using a non-superwash base, you want to keep it at 210 degrees for about 30 minutes and let exhaust completely to room temperature. If you’re using a superwash base, 22 minutes is sufficient. *Do not boil your yarn, even if it’s superwash.* It will ruin the elasticity and structural integrity of the yarn in the long term, and since we’re making heirloom quality items, it’s best to gently handle the yarn from start to finish.
Once it’s cooled completely, take all the ties off and lay the skein out for round 2 of dyeing! I recommend laying the yarn out on plastic wrap and steam setting in a veggie steamer.
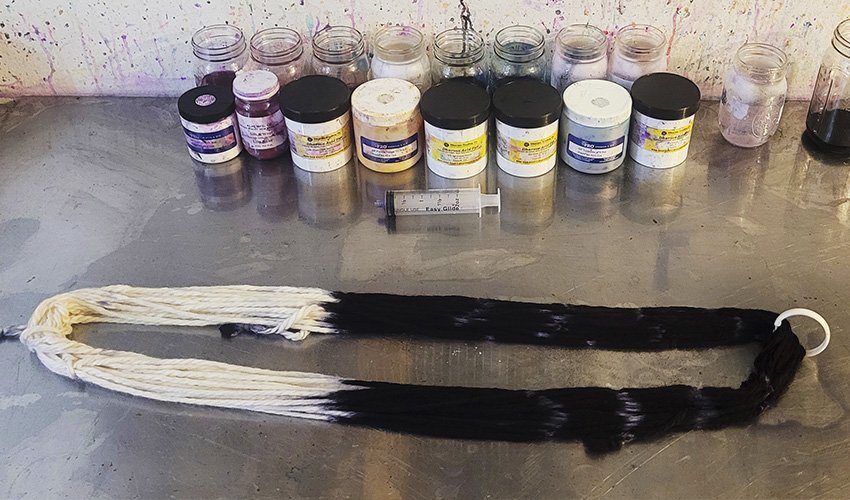
Next, we mix up the dye stock for our speckles! Here, I used Pro Chem washfast acid Hot Pink and Turquoise, Dharma Flourescent Safety Orange, Fluorescent Lemon, Spearmint Breeze, Bright Aqua and Purple Pop, and Aljo Lily Rose. I mixed about 1.5 grams of dye in 2 cups of very hot water with a teaspoon of citric acid in each jar.
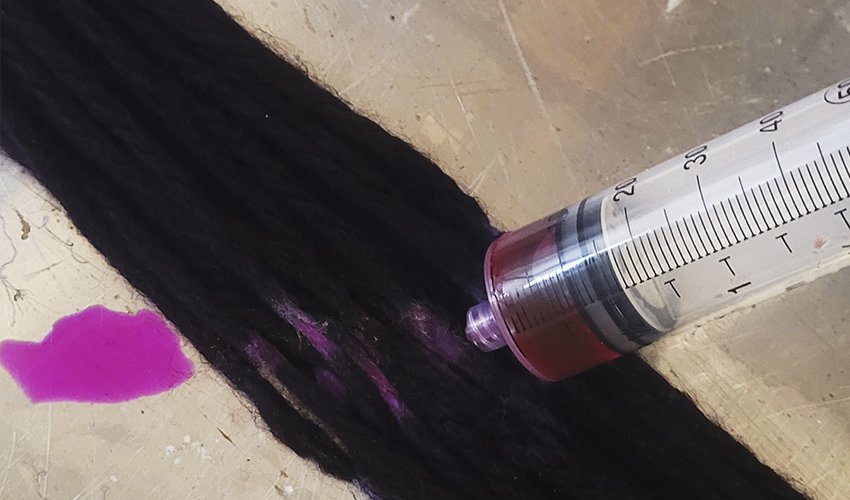
Now the easy part, pull up about 25 ml of dye and work it into the resists. I check the backside to make sure there are no white areas. I also massage the dye in as I’m injecting it to encourage thorough saturation.
Designing the color pops is super fun! You can do all shades of one color, a rainbow in rainbow order, random colors, or even none at all if you just want tiny little white stars in your piece. I chose an 8 color rainbow in rainbow order.
Wrap your yarn up jelly roll style, and pop in the steamer for half an hour. Rinse when cool and hang in the sun to dry.
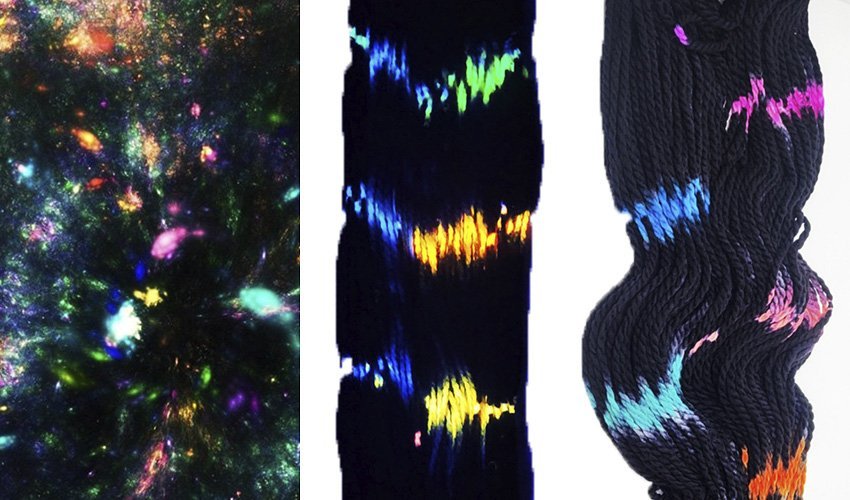
How cool, some of these dyes glow under blacklight and really look just like you’re in a starfield!
DIRECT APPLICATION FOR FORCED POOLING
Did you know you can create all kinds of fun designs in your finished piece depending on how you lay in the dye? From an argyle, a lightning bolt, an oil slick style pool, stripes on the bias, and more, direct application dye is the perfect way to get your yarn to pool.
First, soak your skein for a minimum of half an hour, ideally overnight. I like to use a teaspoon of synthrapol, a PH-neutral textile detergent that acts as a whetting agent, but it’s not necessary unless you’re using a silk base.
Squeeze out as much water as you can and lay your barely damp skein on a piece of plastic wrap.
Next, decide what colors and in what order you want them to work up.
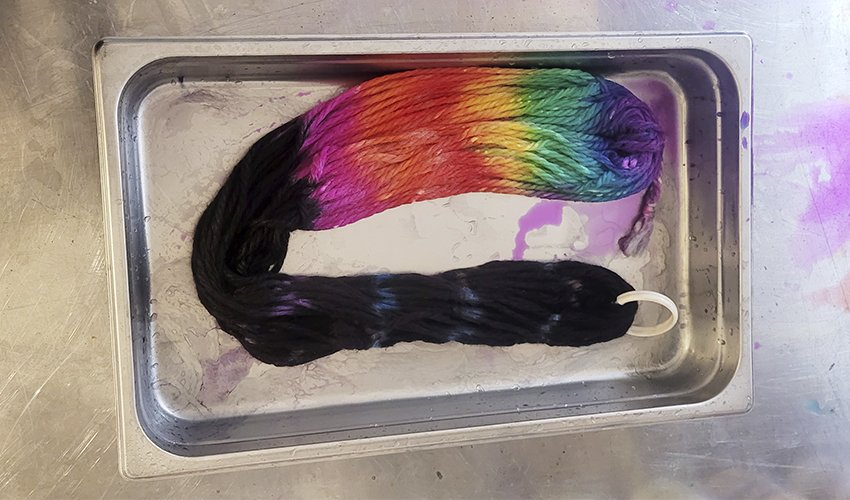
I chose a palindrome rainbow application on the white half of my skein. (In my excitement to get dye on skeins, I dyed all the Salcantay and filmed the whole process but forgot to photograph it, so I had to use my remaining skein of Tundra to photograph for both techniques.)
Pop it in the steamer for half an hour, and let cool to room temperature.
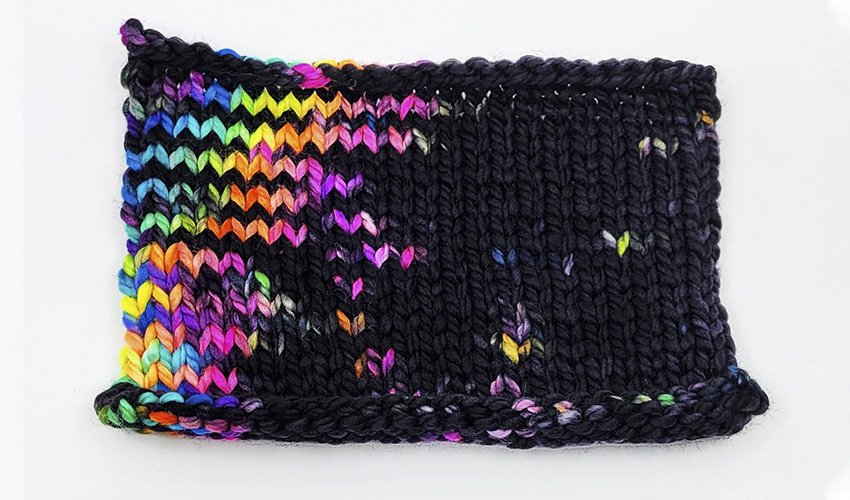
Here’s what the Tundra base looks like worked up
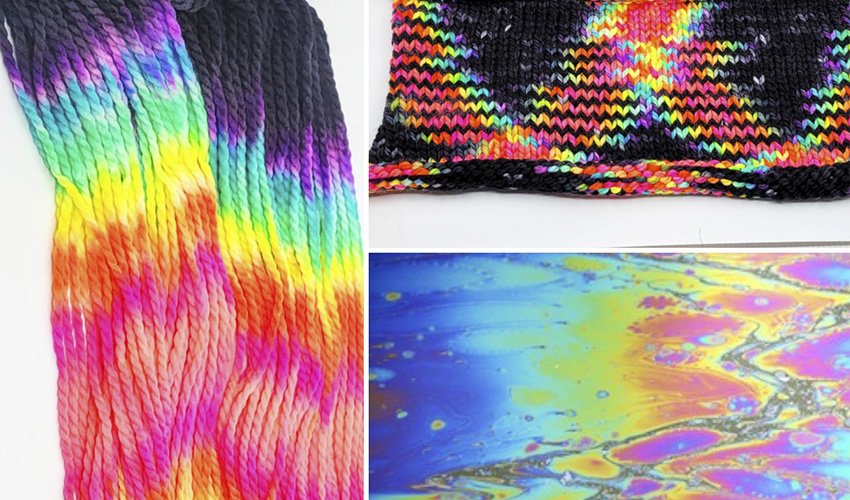
Here’s how the Salcantay looks in direct application.
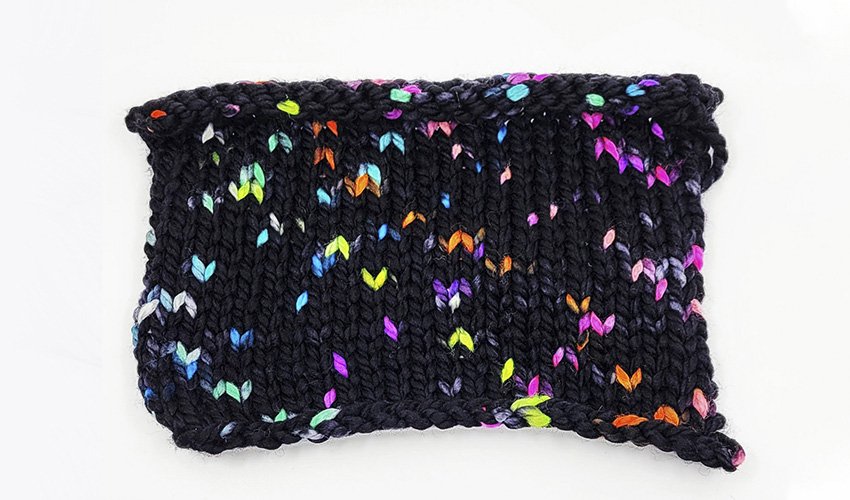
And here’s Salcantay with a palindrome rainbow with black tips both flat and in the round with a 50 stitch cast on size ten needles.
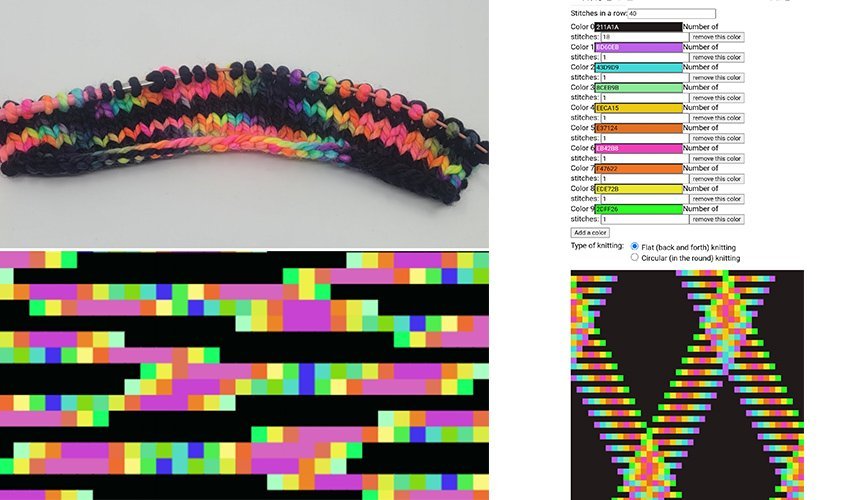
I highly recommend www.plannedpooling.com if you want to play around with your yarn and see all the different variations you can get by changing the cast on and if it’s in the round or flat.
Please do tag me with what you make, I’m on Instagram as @frostyarn and you can check out my other tutorials on my official youtube channel.
Tags: dyeing bare yarn, how to dye yarn, indie dyers, salcantay




Leave a Reply