Dyeing Solita Bulky for a Colorwork Hat
This Lotus Flower Beanie by BKnitsHandmade is fast, fun and easy to both dye and knit! In today’s blog post, we’ll learn how to measure the stitch and mark off the skein so each lotus flower (star stitch) is a different color!
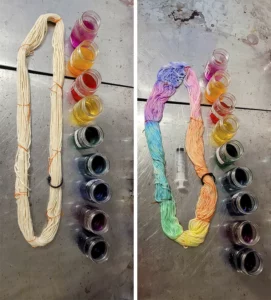
Dyes Used: Pro Chem and Dye Brilliant Violet, Hot Pink, Turquoise, Black Dharma Trading FL Orange, FL Yellow, Bright Aqua, Purple Pop, Spearmint Breeze Aljo Lily Rose
I mixed a liquid painting stock of .10 grams of dye per 500 ML for all colors except spearmint breeze and bright aqua at .15 grams of dye to account for their pale shade.
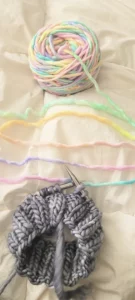
To start with, we need to cast on 10 stitches, knit a row, purl back, and start the Star Stitch.
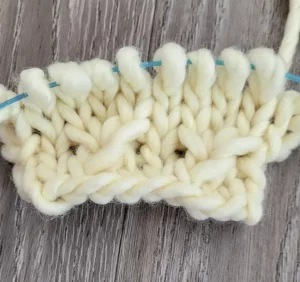
Next we mark out the length of a single star stitch. It’s a K3Tog (Knit 3 Together without taking off the needle), YO, K3Tog in the same stitch. Essentially an increase – decrease – increase all while keeping the stitches on the left hand needle.
We’re gonna mark the first leg of the K3Tog and the bottom of the last leg of second K3Tog.
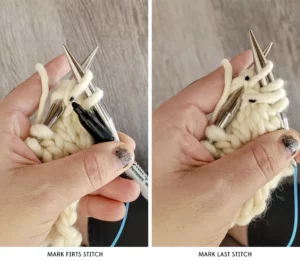
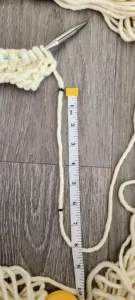
Now we unravel that stitch and measure the distance between the 2 points
6 inches on a size 13 needle is my gauge – but make a star yourself with your preferred gauge. This yarn would be between an 11.5 for a very loose knitter or a 15 for a tight knitter, the sweet spot is probably a 13 for this yarn.
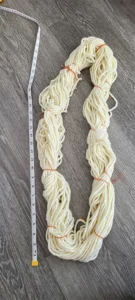
Now we are going to take colored string and mark off every 6 inches for each color section. Let soak for a minimum of 30 minutes and wring out the extra water so it’s just damp and ready for dye.
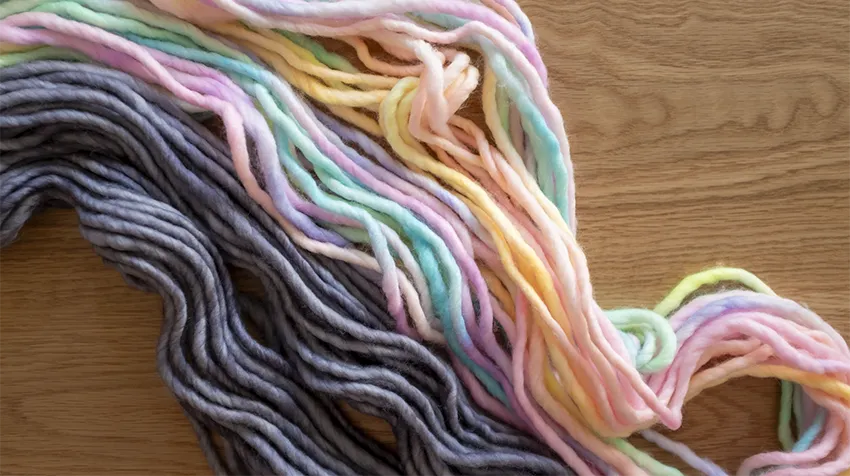
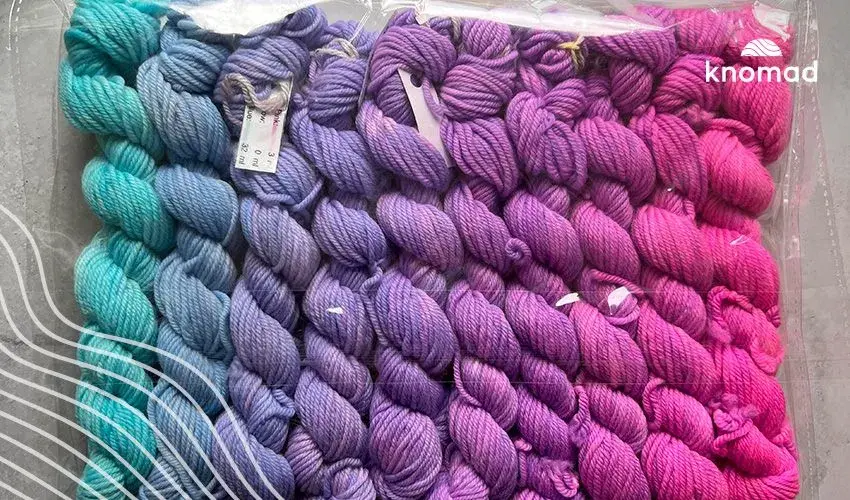
Let’s mix our dye stock and start painting! I use a 60 ml luer lock syringe for precision. I started at the top right with hot pink, followed by lily rose, FL orange, FL yellow, Spearmint Breeze, Bright Aqua, Turquoise, Purple Pop, and Violet. Heat set for 30 minutes in a steamer, proofing cabinet or oven.
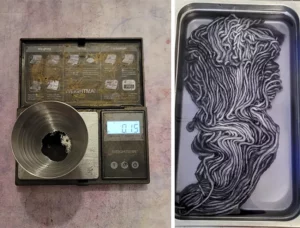
While that’s cooking, let’s do the background grey. I used .10% DOS black for a pretty pearly neutral grey. Solita is 150 grams so the formula is:
150 grams x .10% dos = .15 grams of black dye
You can use a pre-milled grey like Dharma Silver or Pro Chem Mouse but the undertone is not as consistent or clear, sometimes it skews orange or purple. All of my greys are just tiny fractions of black. It behaves predictably with all other colors, is rarely if ever reformulated and I only need a teeny tiny fraction of dye if I’m using black vs the amount I’d have to use for milled greys. High water table is preferable here so the grey is fairly uniform and I move the fiber in the dye bath every couple minutes so there’s no dark “hot spots.”
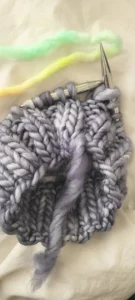
Time to cast on our project!
Before joining the contrasting color, I line up the yarn and join it right at the edge of a color change.
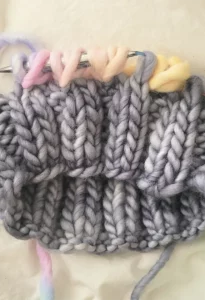
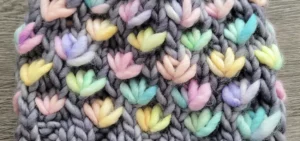
That way, when we start making our star stitches, we get a different color for each cluster. If we join mid way through a color, then each leg of each flower will be a different color.
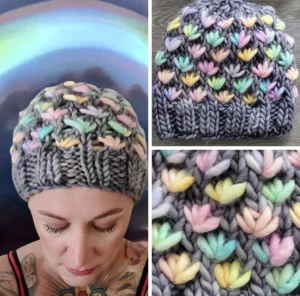
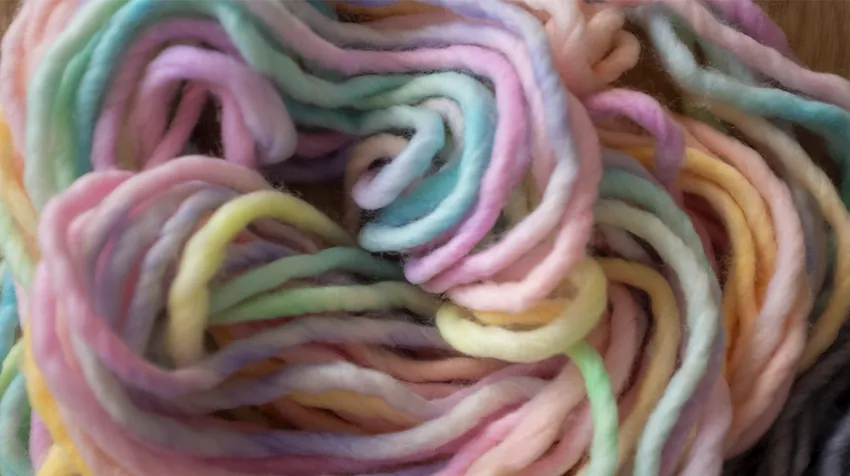
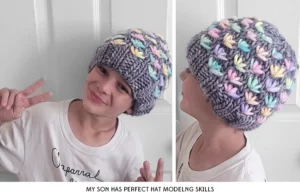
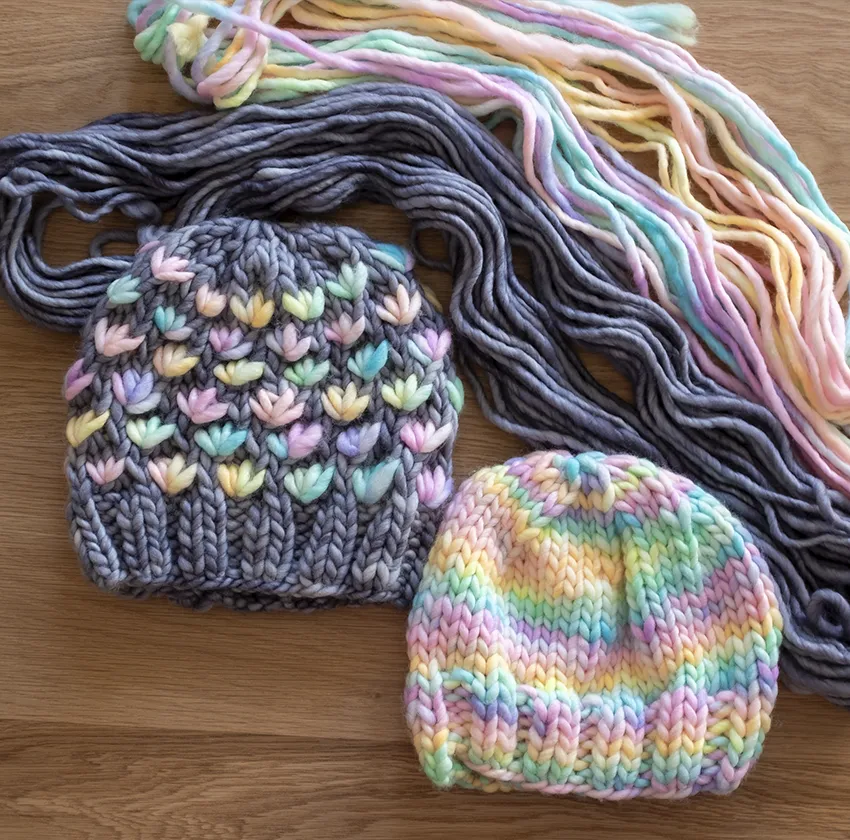
Look how cute these little clusters are! Each one a different color and swirling in rainbow order.
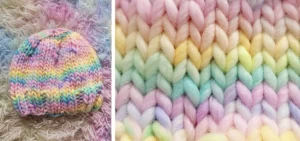
Because Solita is 150 grams, I had plenty left over of our rainbow contrast color to make another hat – and still have left over from that! I wanted to show you what these 6” color sections look like in plain stockinette.
There’s nothing plain about it ! It looks fabulous, and although it isn’t striping, the way it pooled gave it the appearance of stripes, which is super fun!
I hope this blog post inspired you to dig in your library of patterns for one that would work with assigned pooling! I just love doing a simple pattern with complicated yarn and getting it to look like I stranded in the colors when it’s really just cleverly dyed to mock the intarsia effect!
Until next time!
Nic



Thanks for sharing this post! What a wonderful explanation!