Getting Started with Acid Dyes
Acid dyes are versatile, vibrant, and straightforward. The category “acid dye” is broad and simply refers to dye that sets in an acidic environment. In yarn dyeing, that means adding citric acid or white vinegar to a dye bath. Acid dyes only work on protein fibres, which are wool fibres derived from animal sources. You can read more about the science of how dye bonds to fibre here. Today we are going to cover the basic supplies and techniques used in acid dyeing.
Acid
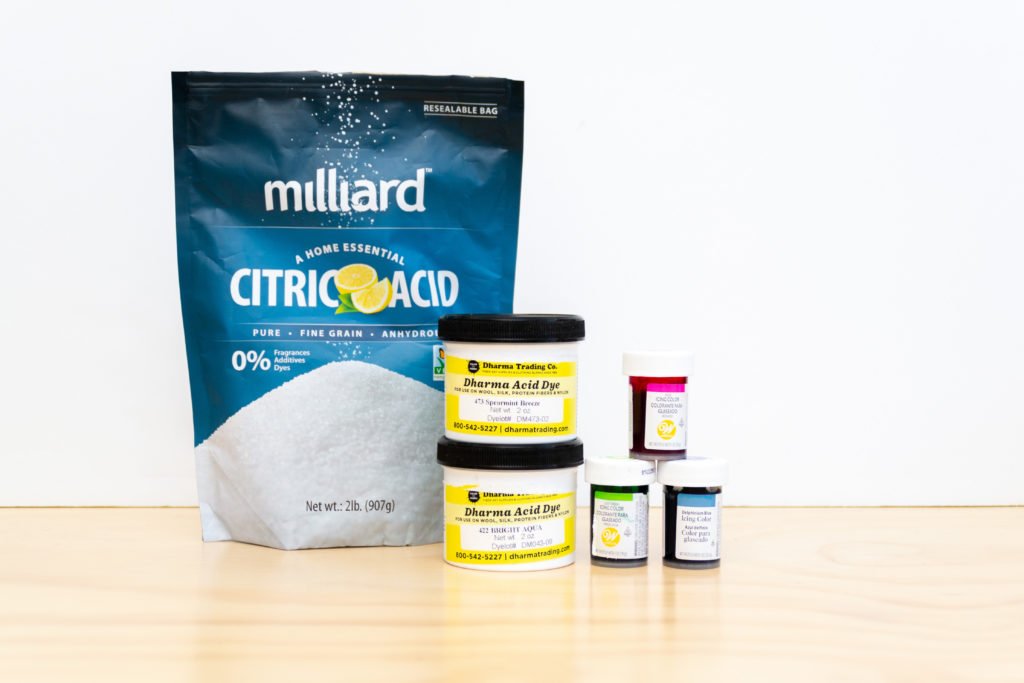
This is either citric acid, which comes in powder form or white vinegar. These are both easy to buy in bulk online. Personally, I prefer citric acid. It has less of a noticeable smell when dyeing and is easy to store.
Dye
There are some options when it comes to the dye used for this method. You can use Kool-Aid, or food coloring, or purchase commercially produced powdered dyes that are formulated for use on protein fibres.
Heat
This is the final, key component for working with acid dyes. Heat is necessary to fully bond the dye to the fibre. There are a few common methods to heat set the dye including steaming, simmering, and even microwaving the yarn.
Tools
A pair of tongs or chopsticks are useful for fishing yarn out of a dye bath. A large vessel is needed to hold the yarn, water, and dye. You can use a steel stockpot on a stovetop, or an enameled crockpot, or large chafing pans. Ultimately you need something large enough to hold the quantity of yarn you want to dye and enough water to cover the yarn fully. Zip ties are nice for keeping the yarn from tangling in the bath. Plastic wrap is used to steam set dye.
Safety
Commercially produced powdered dyes are lung irritants. Always wear protective equipment when working with these dyes including gloves and a respirator. When in doubt, check the supplier’s website directly for their safety recommendations. Any equipment used with these dyes should not be used for food again. Label your dye supplies clearly to prevent any confusion.
Getting Started
If you have gathered up all of your supplies for dyeing and have your favorite skein of undyed yarn, then it is time to get dyeing! You will want to cover any work surface with newspaper or another protective material to prevent any splashes from staining.
The first step is always to soak your yarn. This helps the dye absorb evenly into the yarn. We have an entire post about soaking and preparing your yarn. Depending on your intended dye method, you may soak your yarn with acid at this step or add acid into the dye bath. Once your yarn is fully saturated, lightly squeeze out the excess water and it is ready for dyeing.
Dyeing
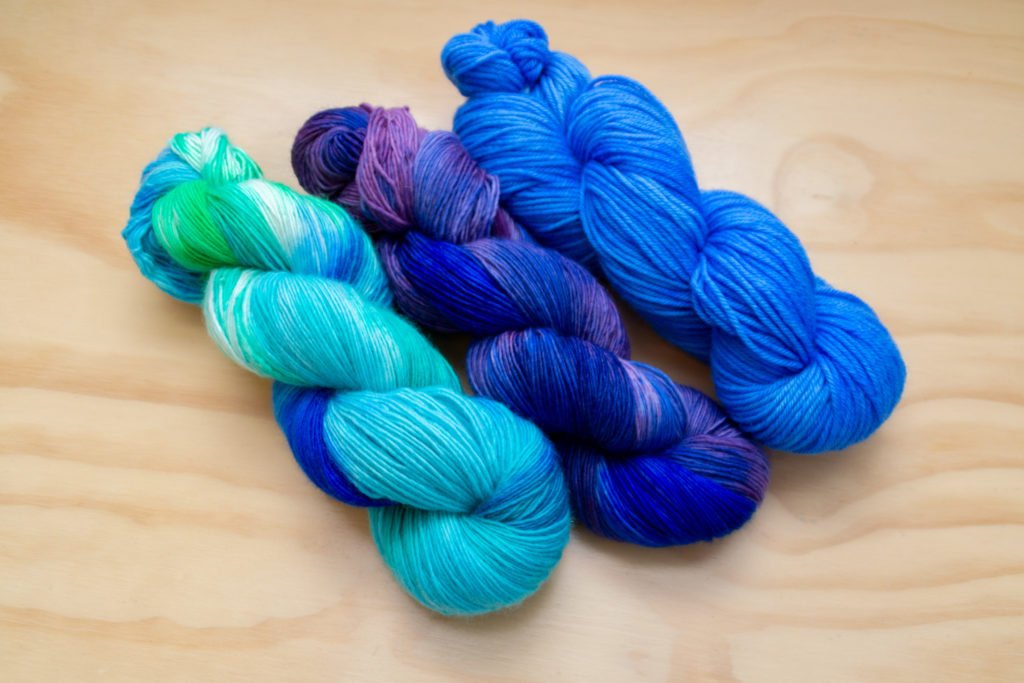
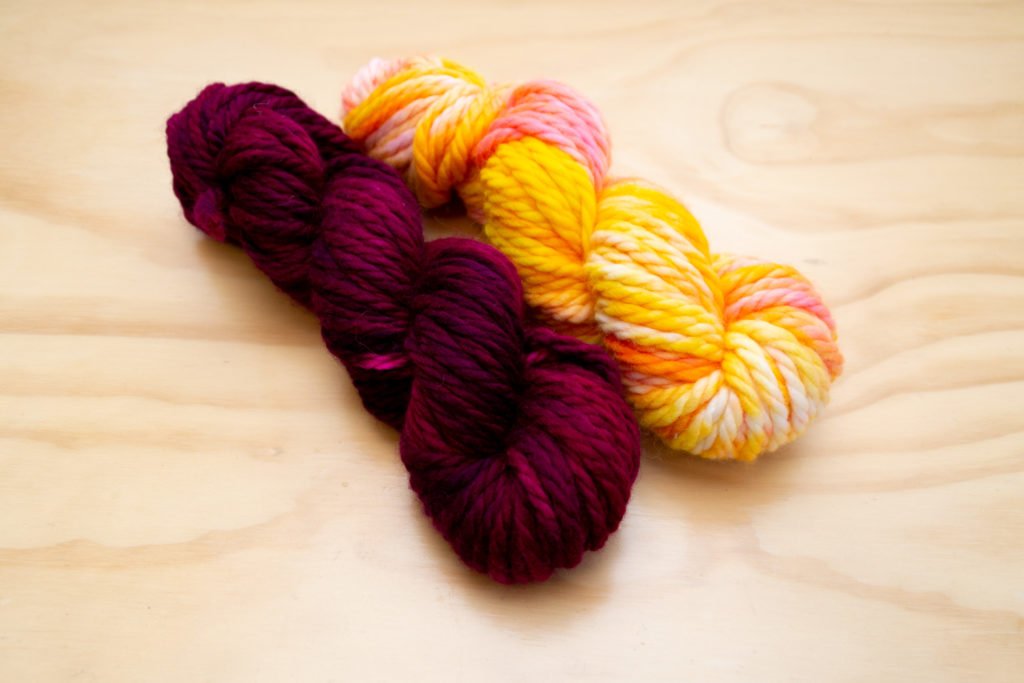
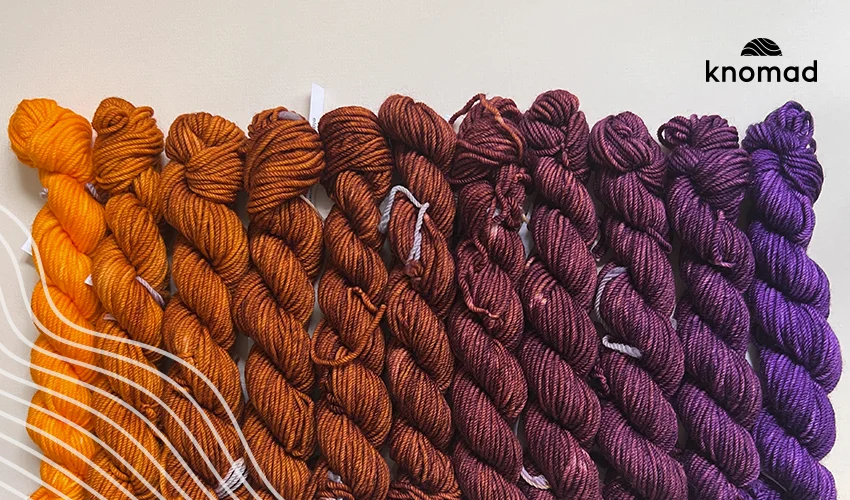
There are so many different ways to apply dye to yarn, and we have tons of great suggestions on our blog. There are speckle dyes, semi-solids, Van Gogh inspired colors, gradients, and plenty more. Whatever method you choose to use to apply dye to the presoaked yarn, the next step is crucial to ensure bright, long-lasting color.
Heat Setting
After you have added the dye and acid to the yarn, it is time to heat set the yarn. This solidifies the new bonds between the dye and the fibre. There are a few ways to add heat after the dye has been added.
If you are using a steel stockpot on the stovetop, simply turn the stove on medium to raise the temperature of the water up to right below a simmer. Keep the water at this heat level for at least 30 minutes. The same process applies if you are using a crockpot or another vessel with a heating element built-in.
If you are steaming the yarn to heat set it, the dyed yarn should be wrapped in plastic wrap first and then placed in a steamer basket inside of your dye pot over a few inches of water. Bring the water to a simmer and allow the yarn to steam for about an hour.
Cool, Rinse, and Dry
Allow the yarn to cool fully before handling it and then rinse completely. Hang the yarn up to dry somewhere with good air circulation and lay an old towel underneath to catch any drips. A metal drying rack is a great option for this and if it’s sunny but not too windy, you can set this up outside.
Enjoy your yarn!
Don’t forget to tag us on social media using #knomadyarn so we can see what you made!
Tags: Beginners



Leave a Reply