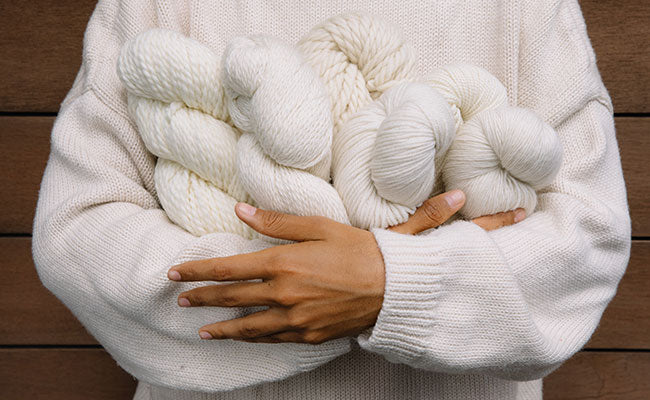
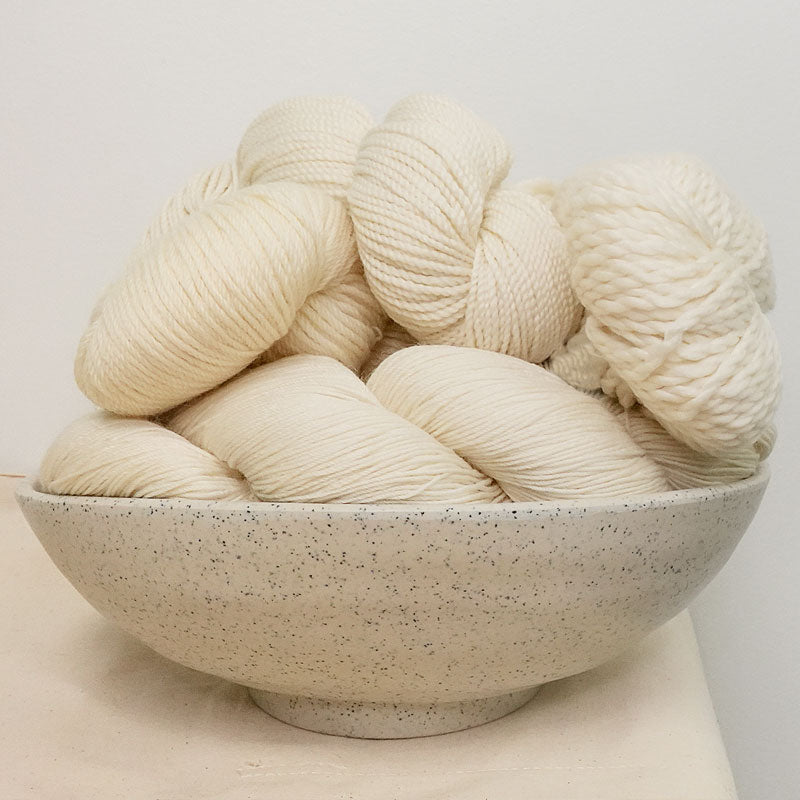
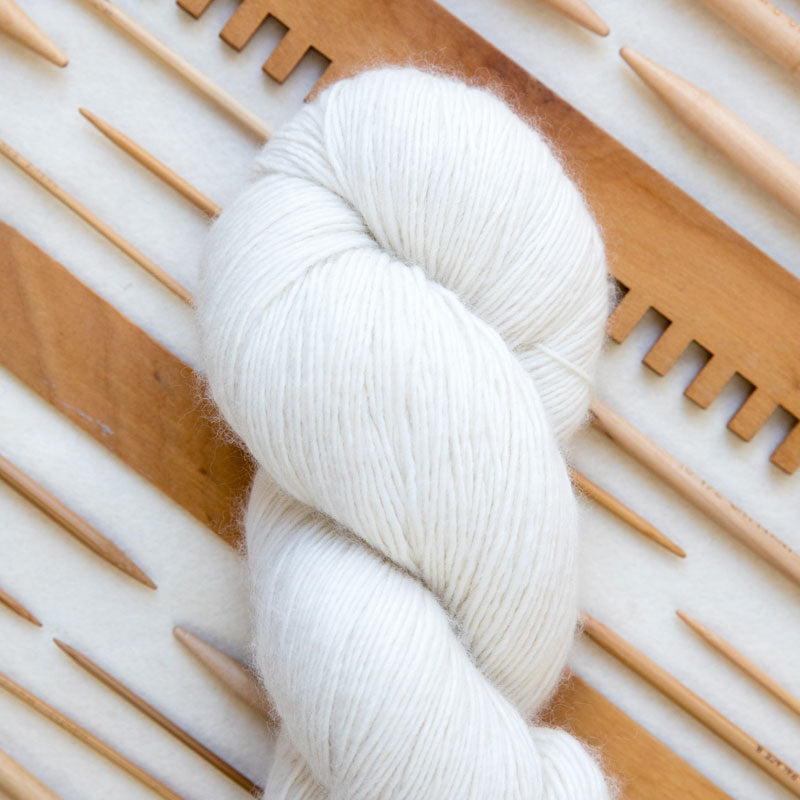
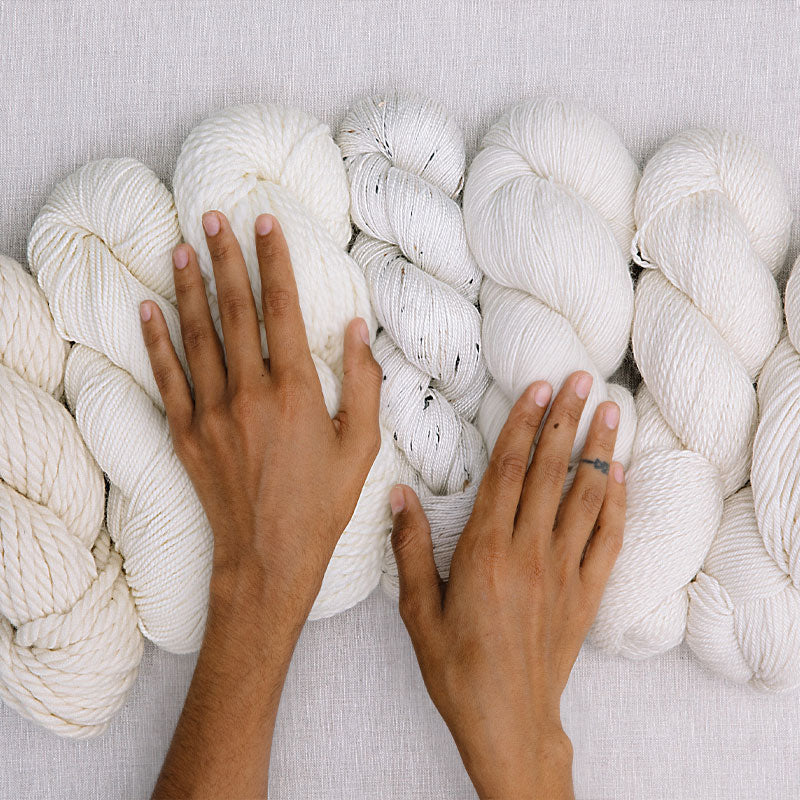
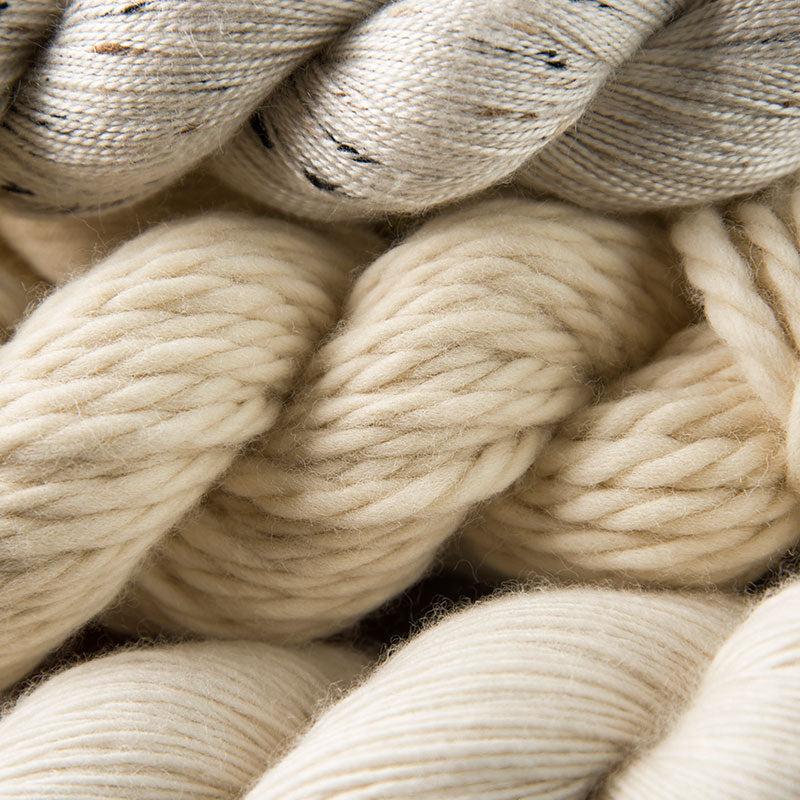
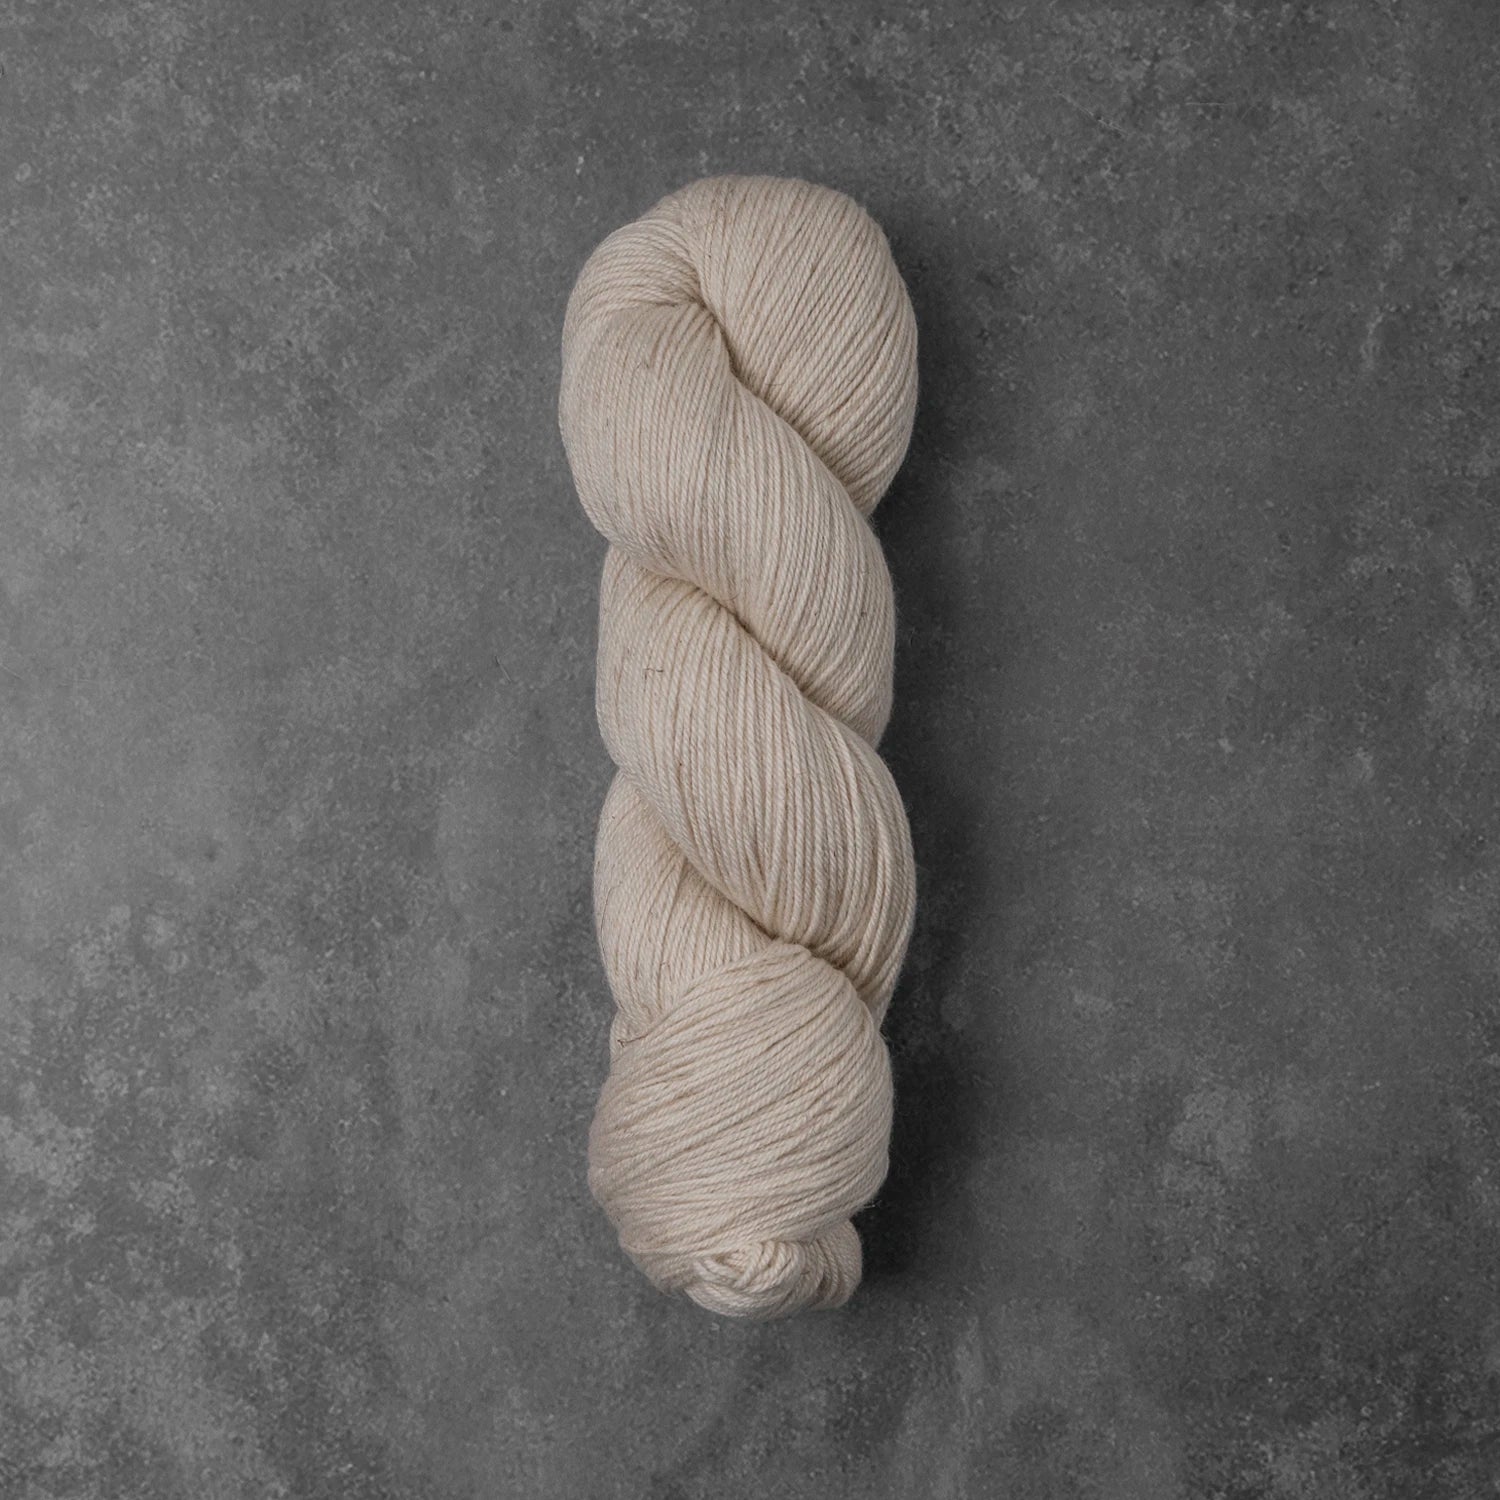
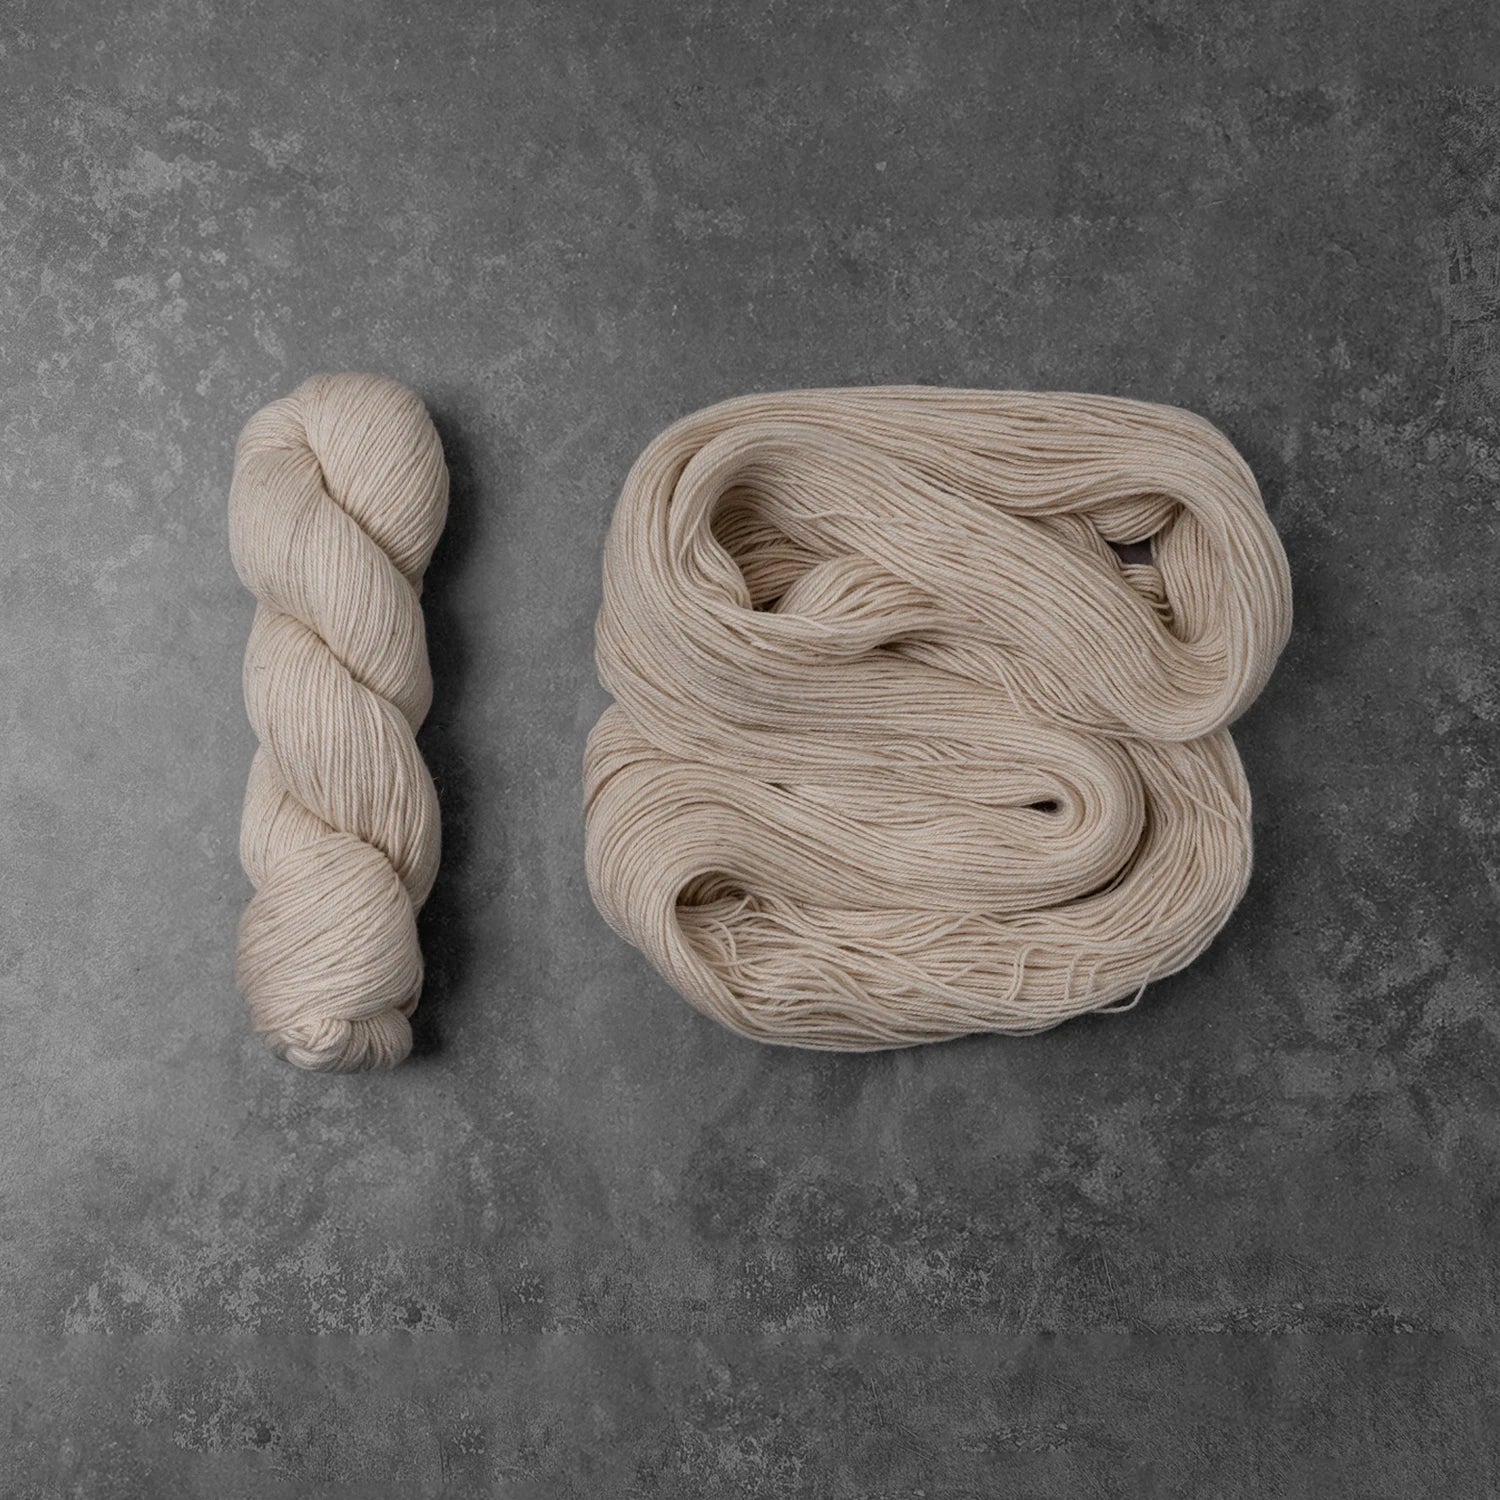
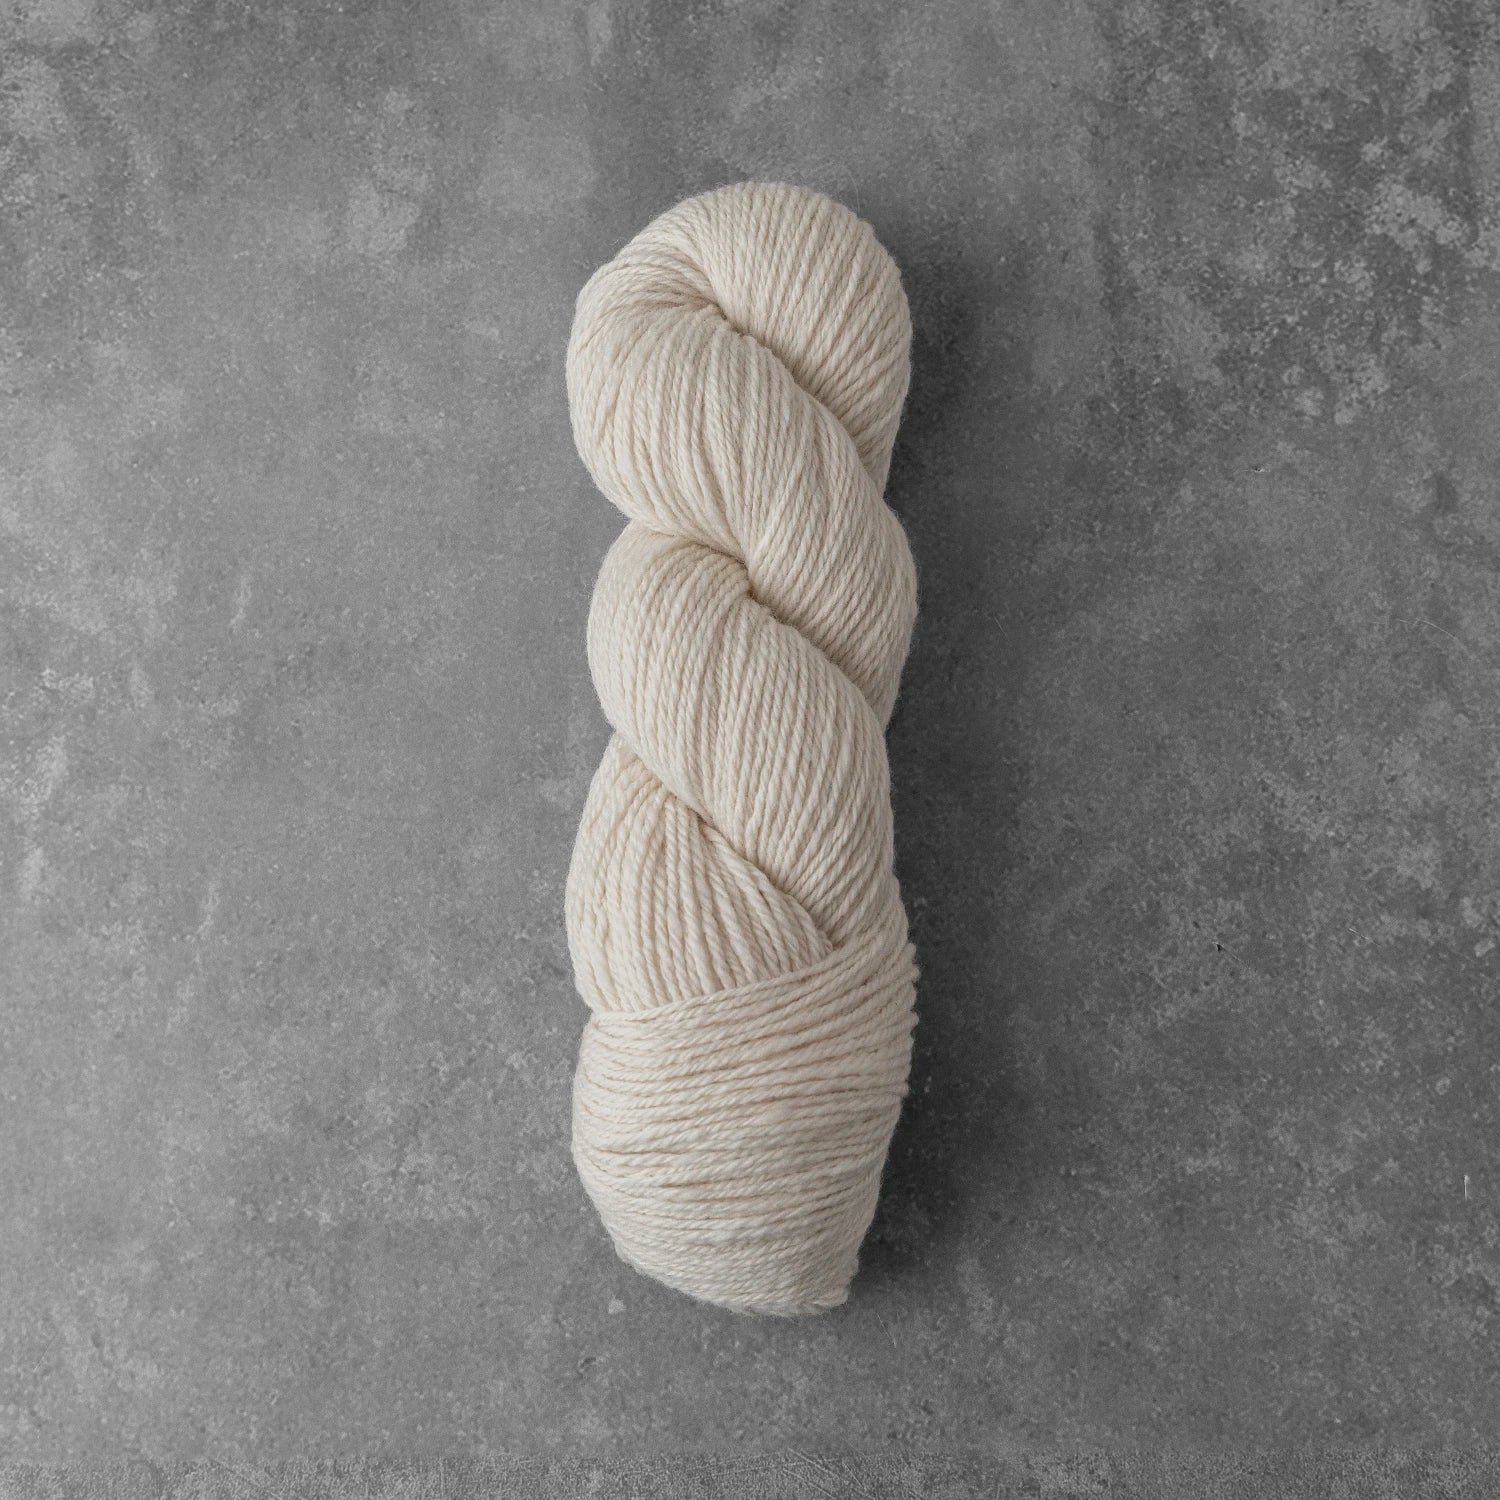
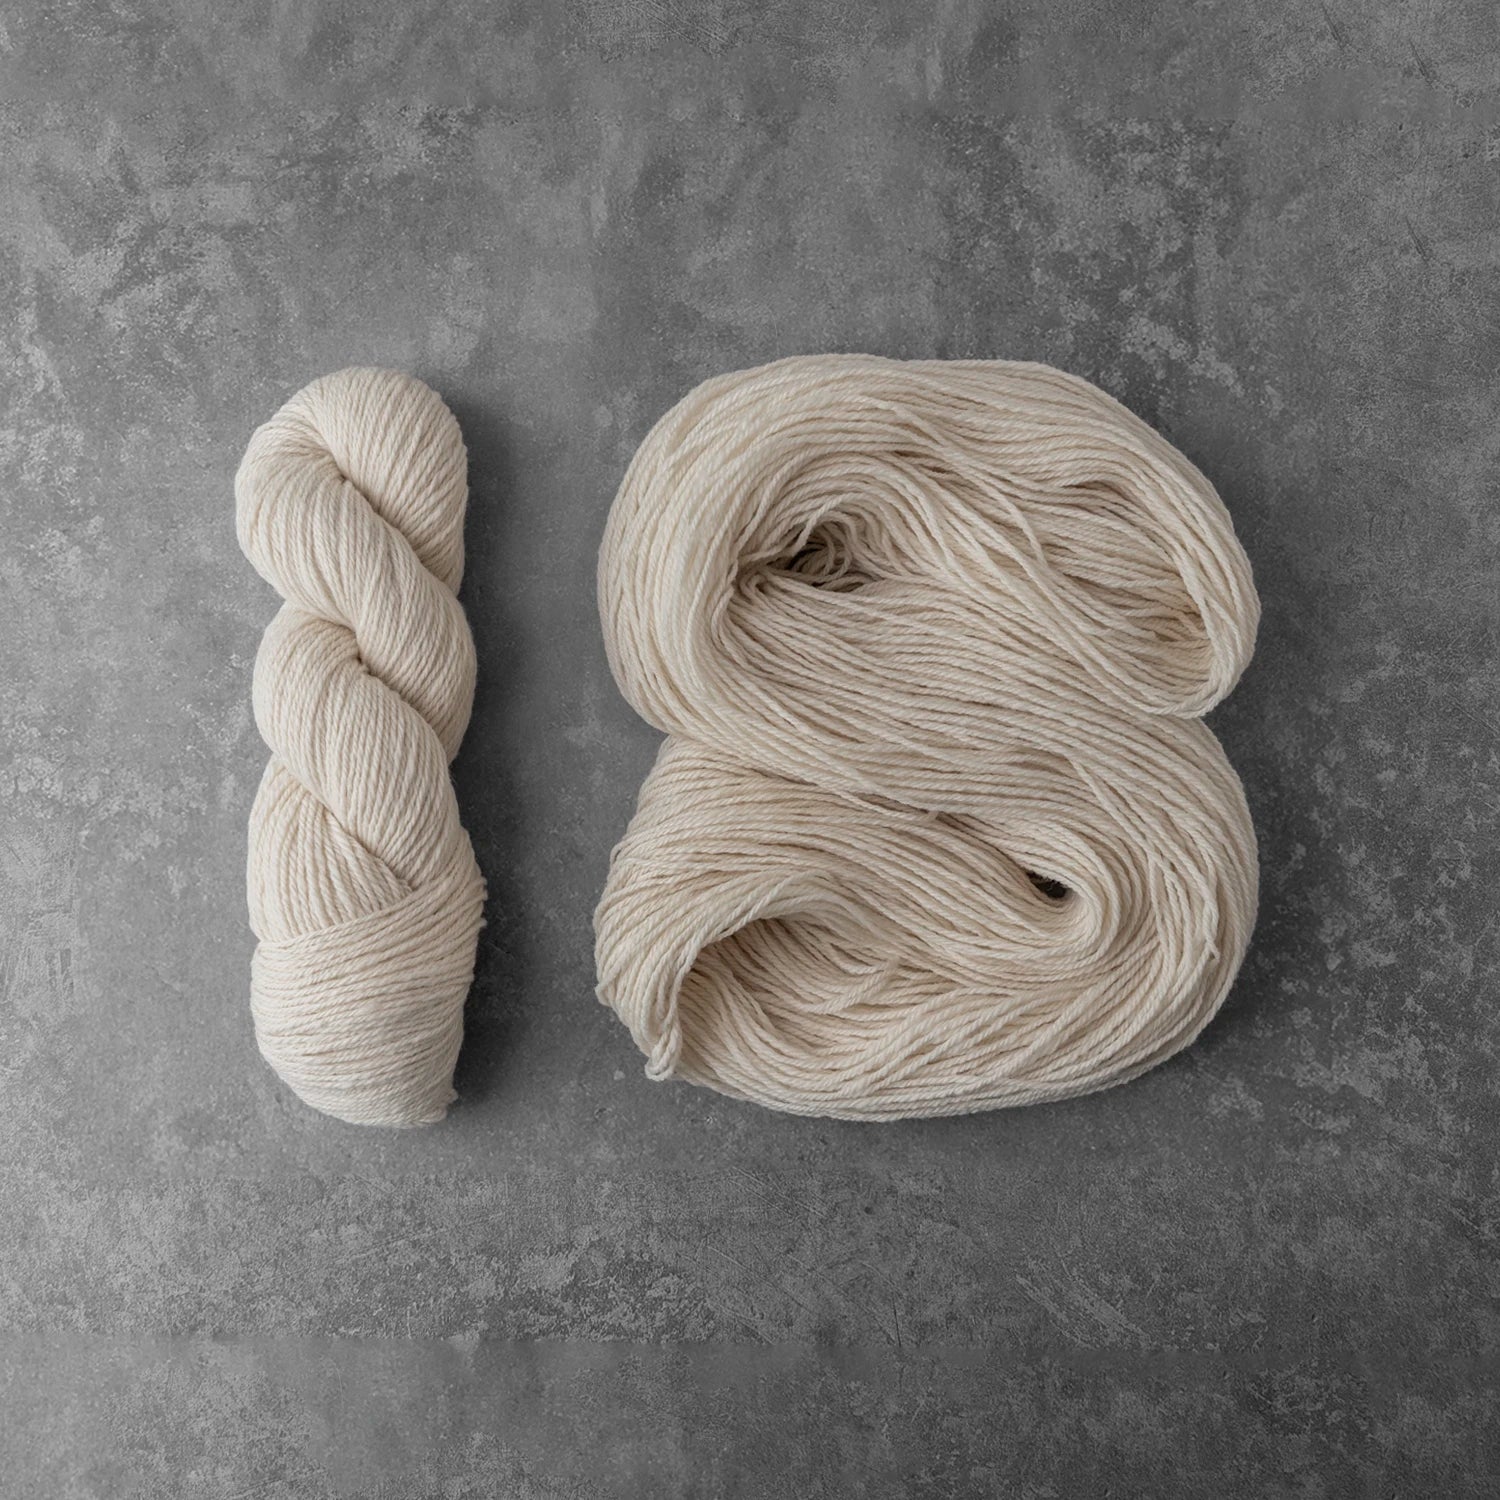
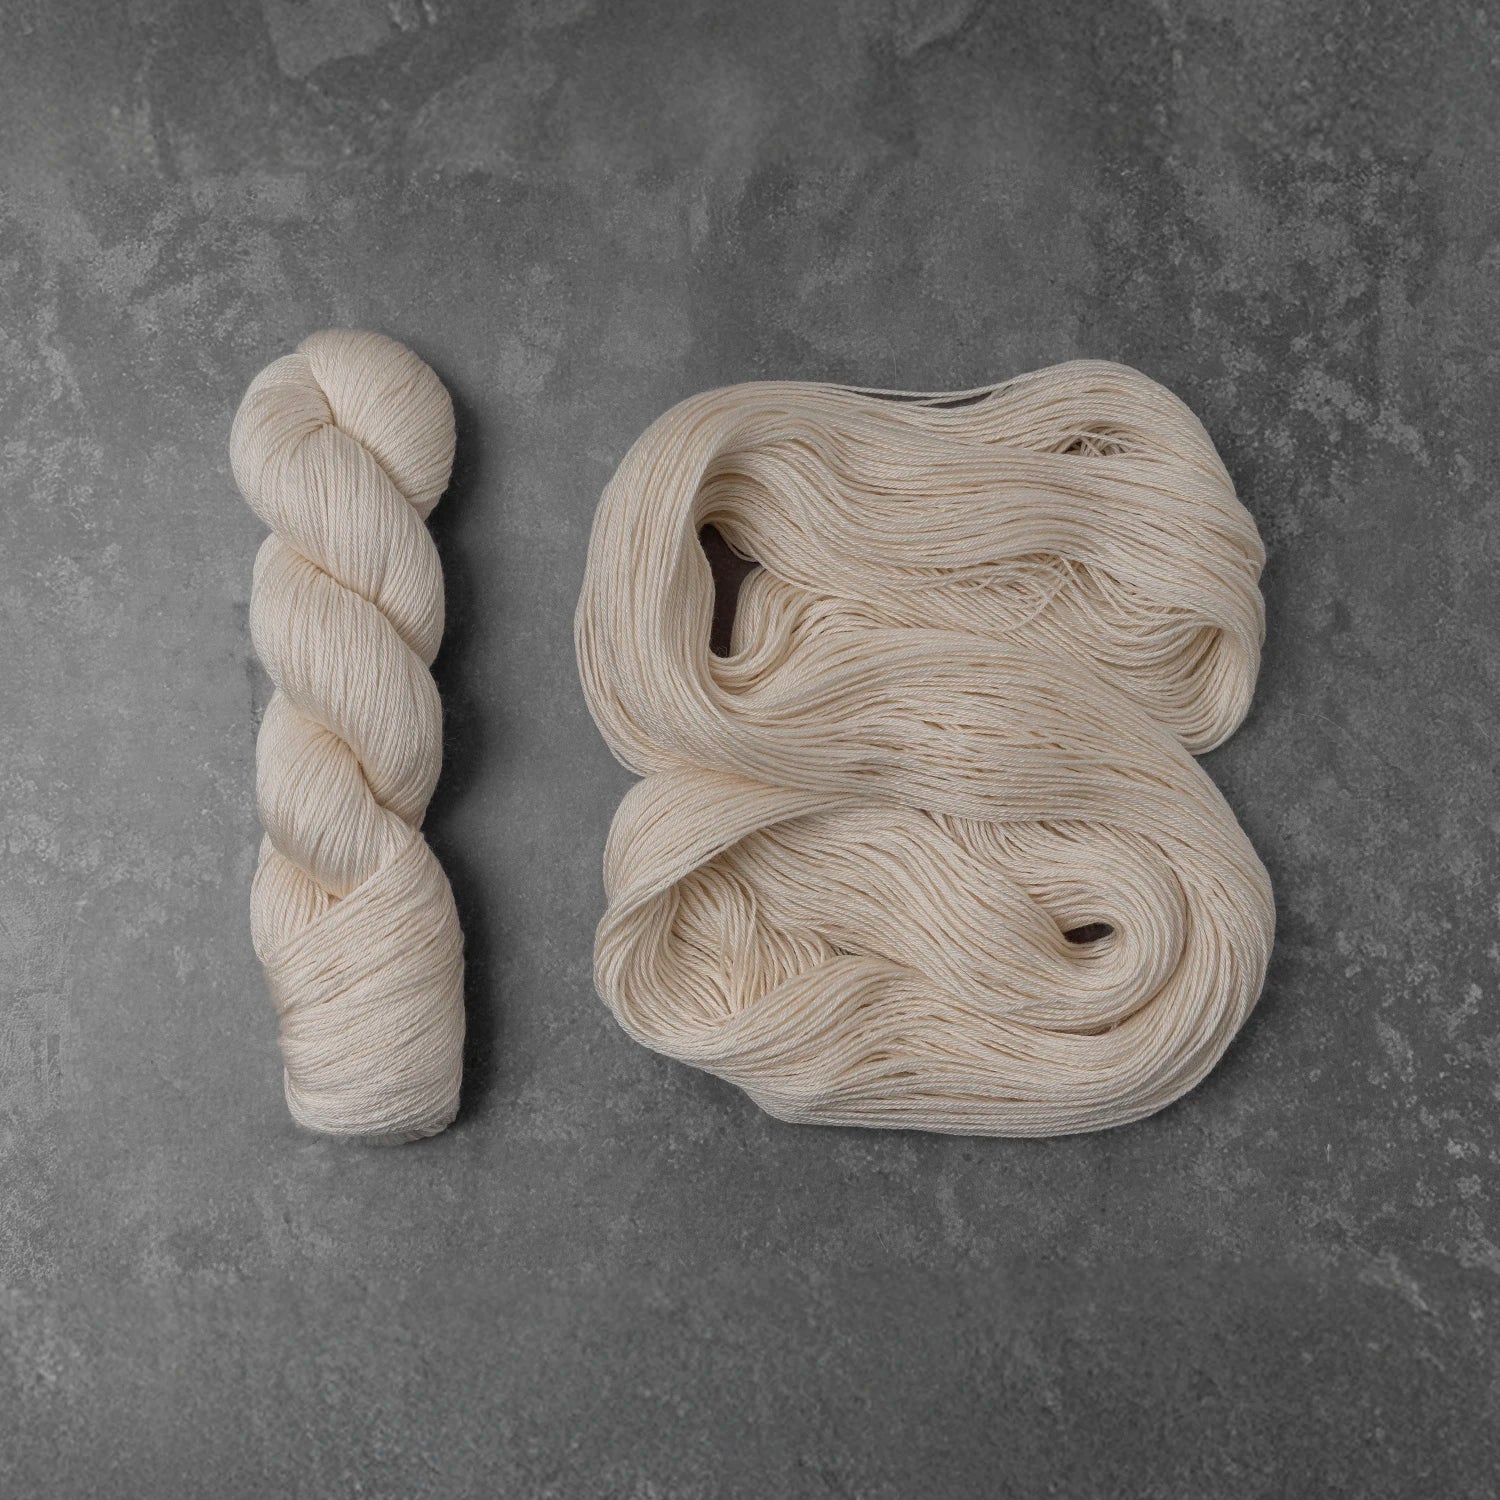
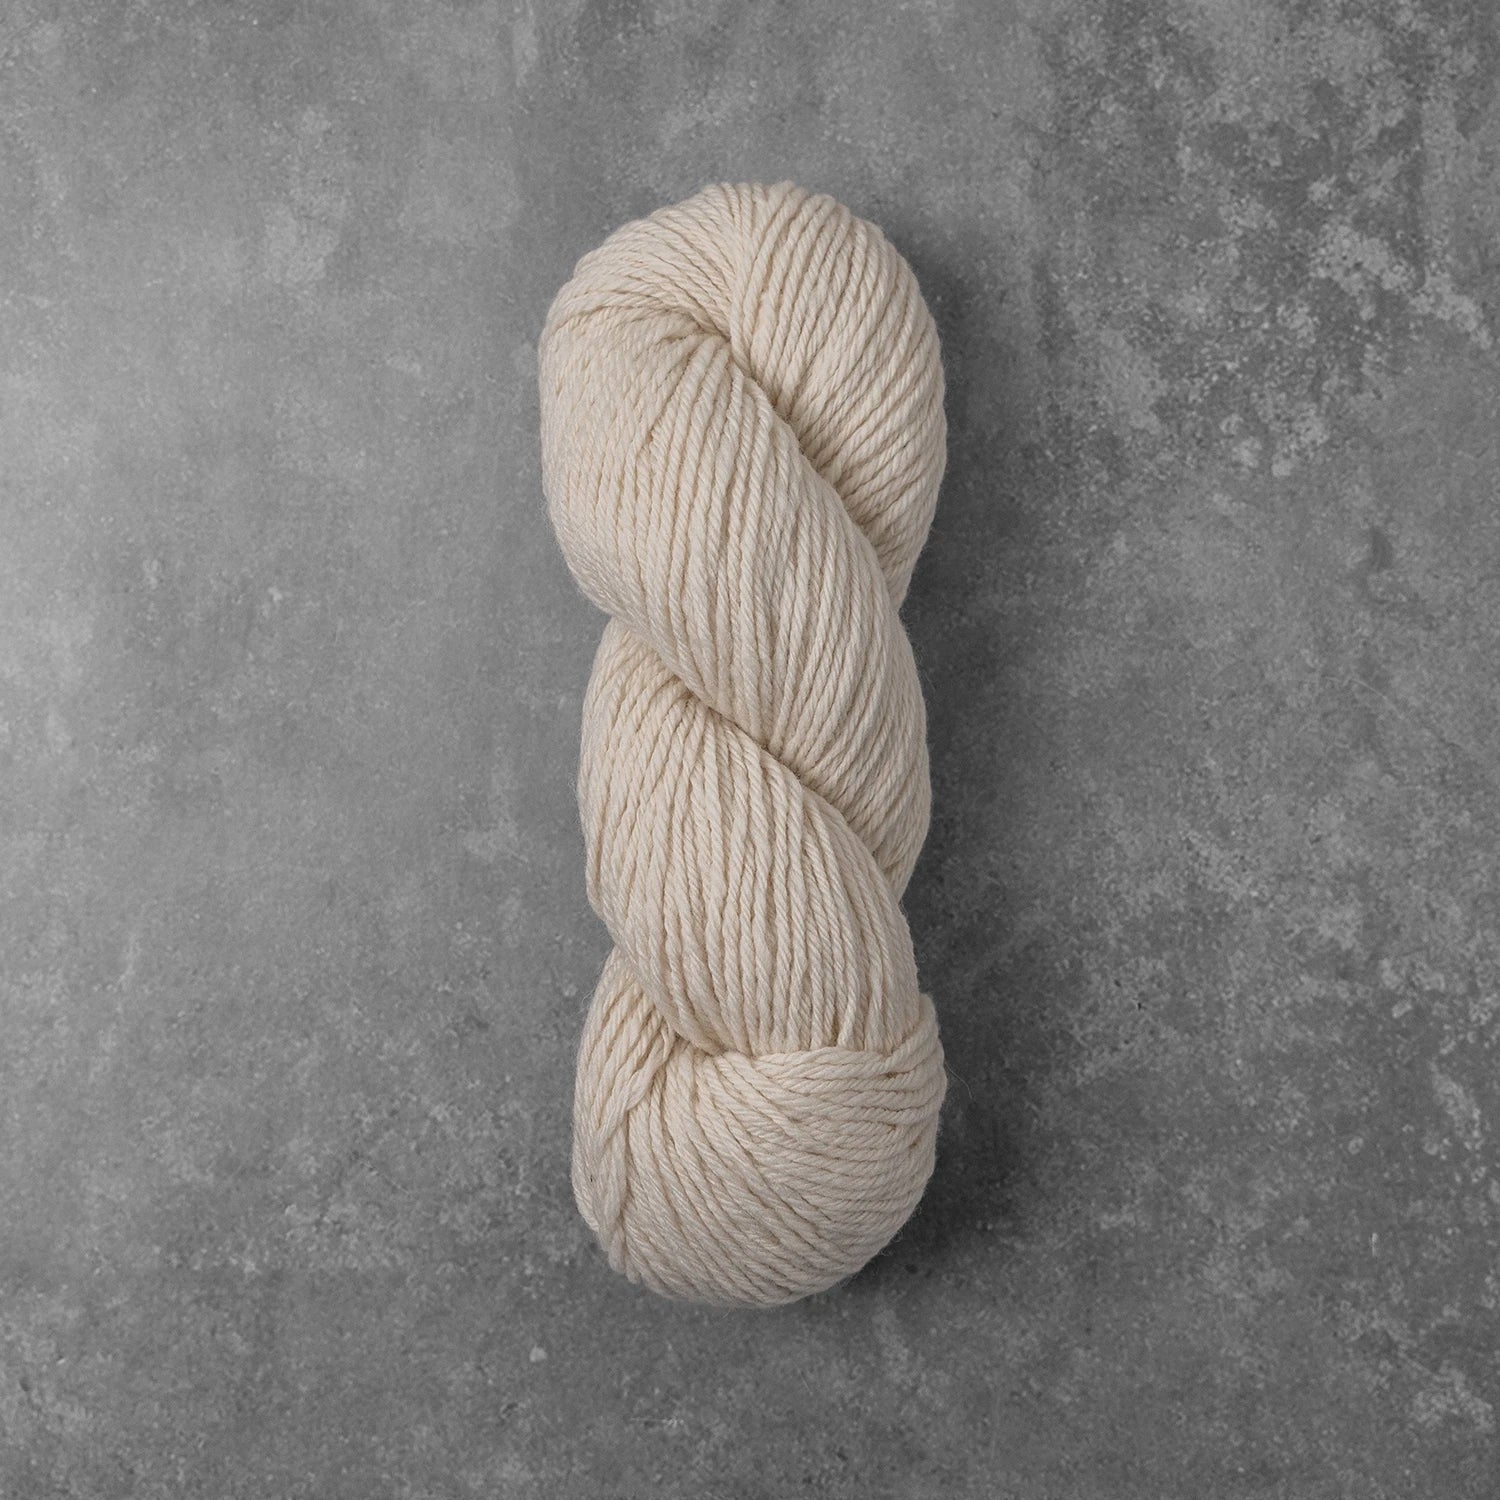
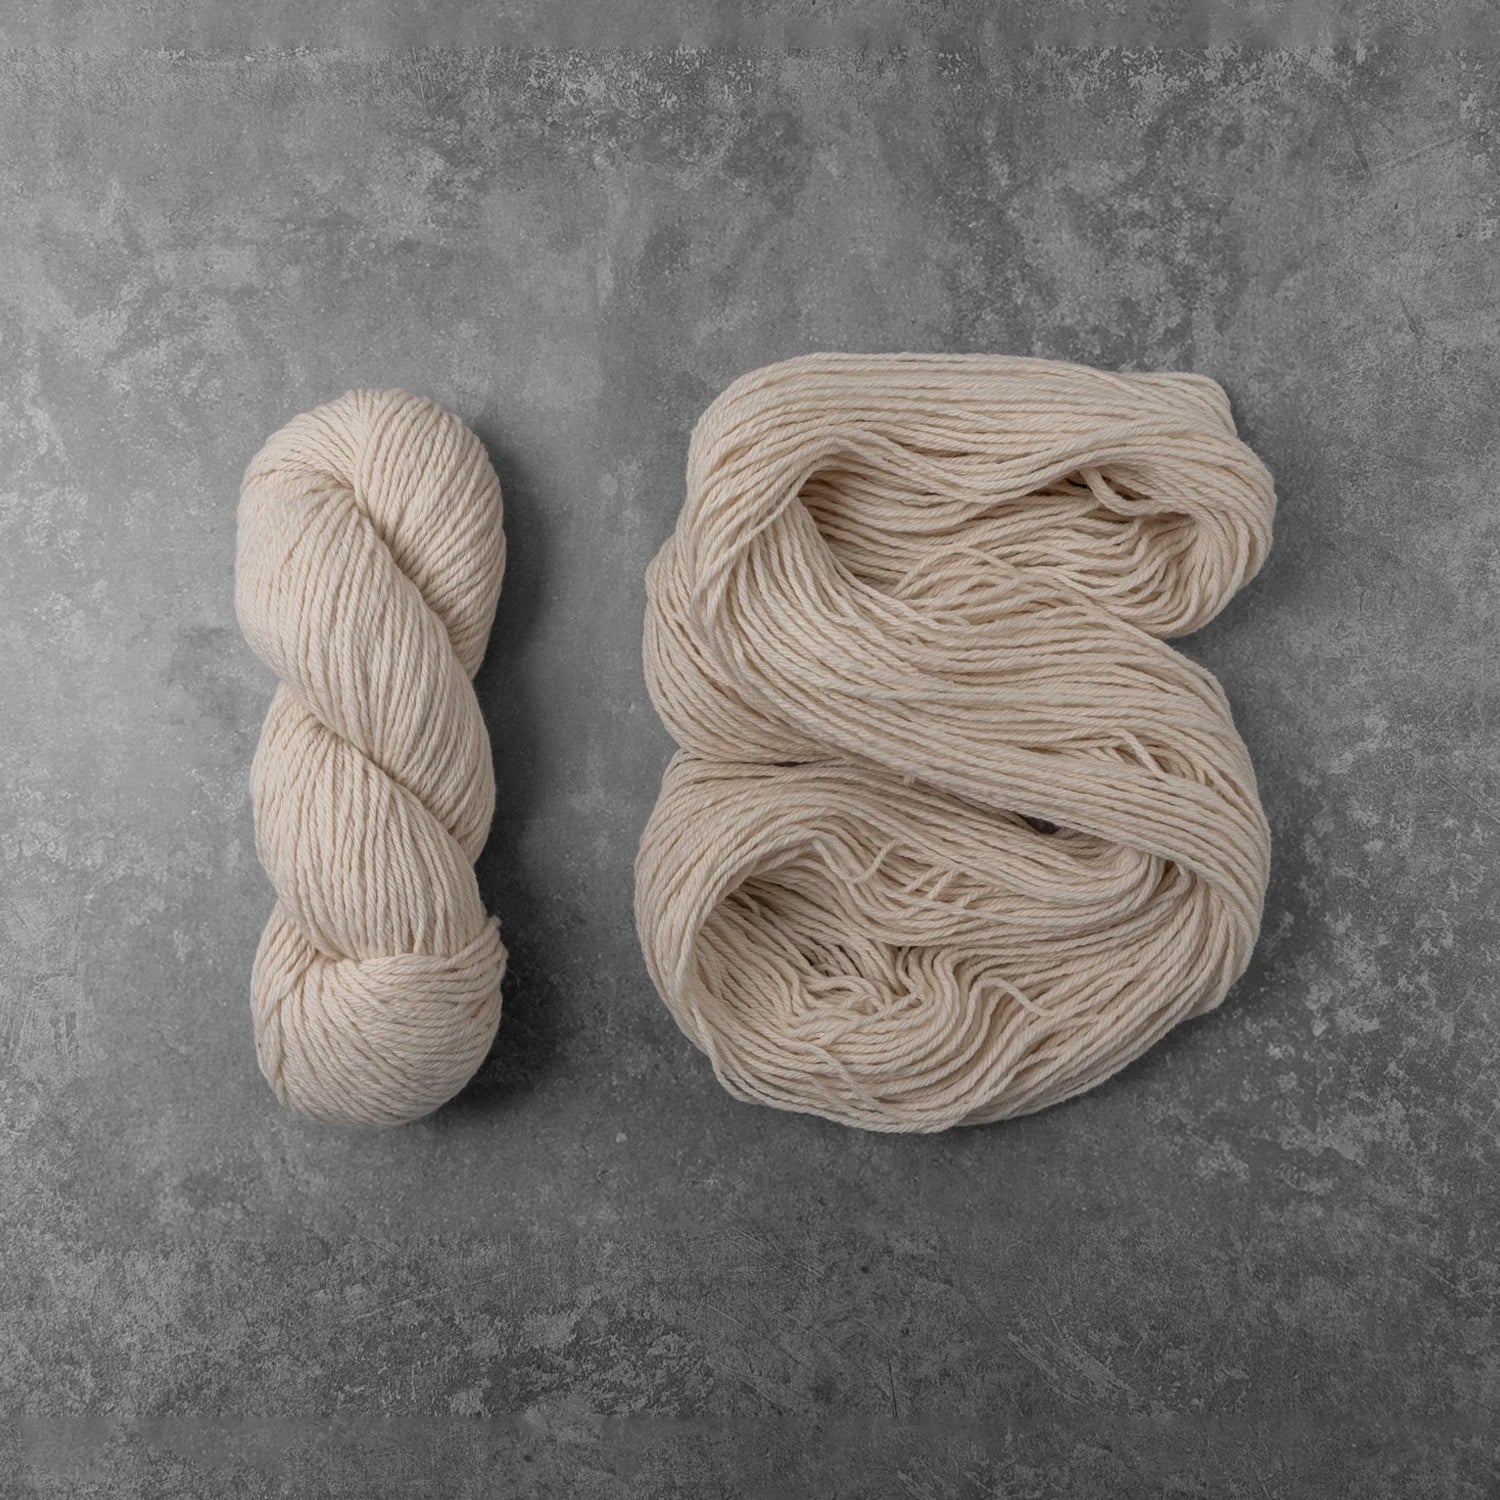
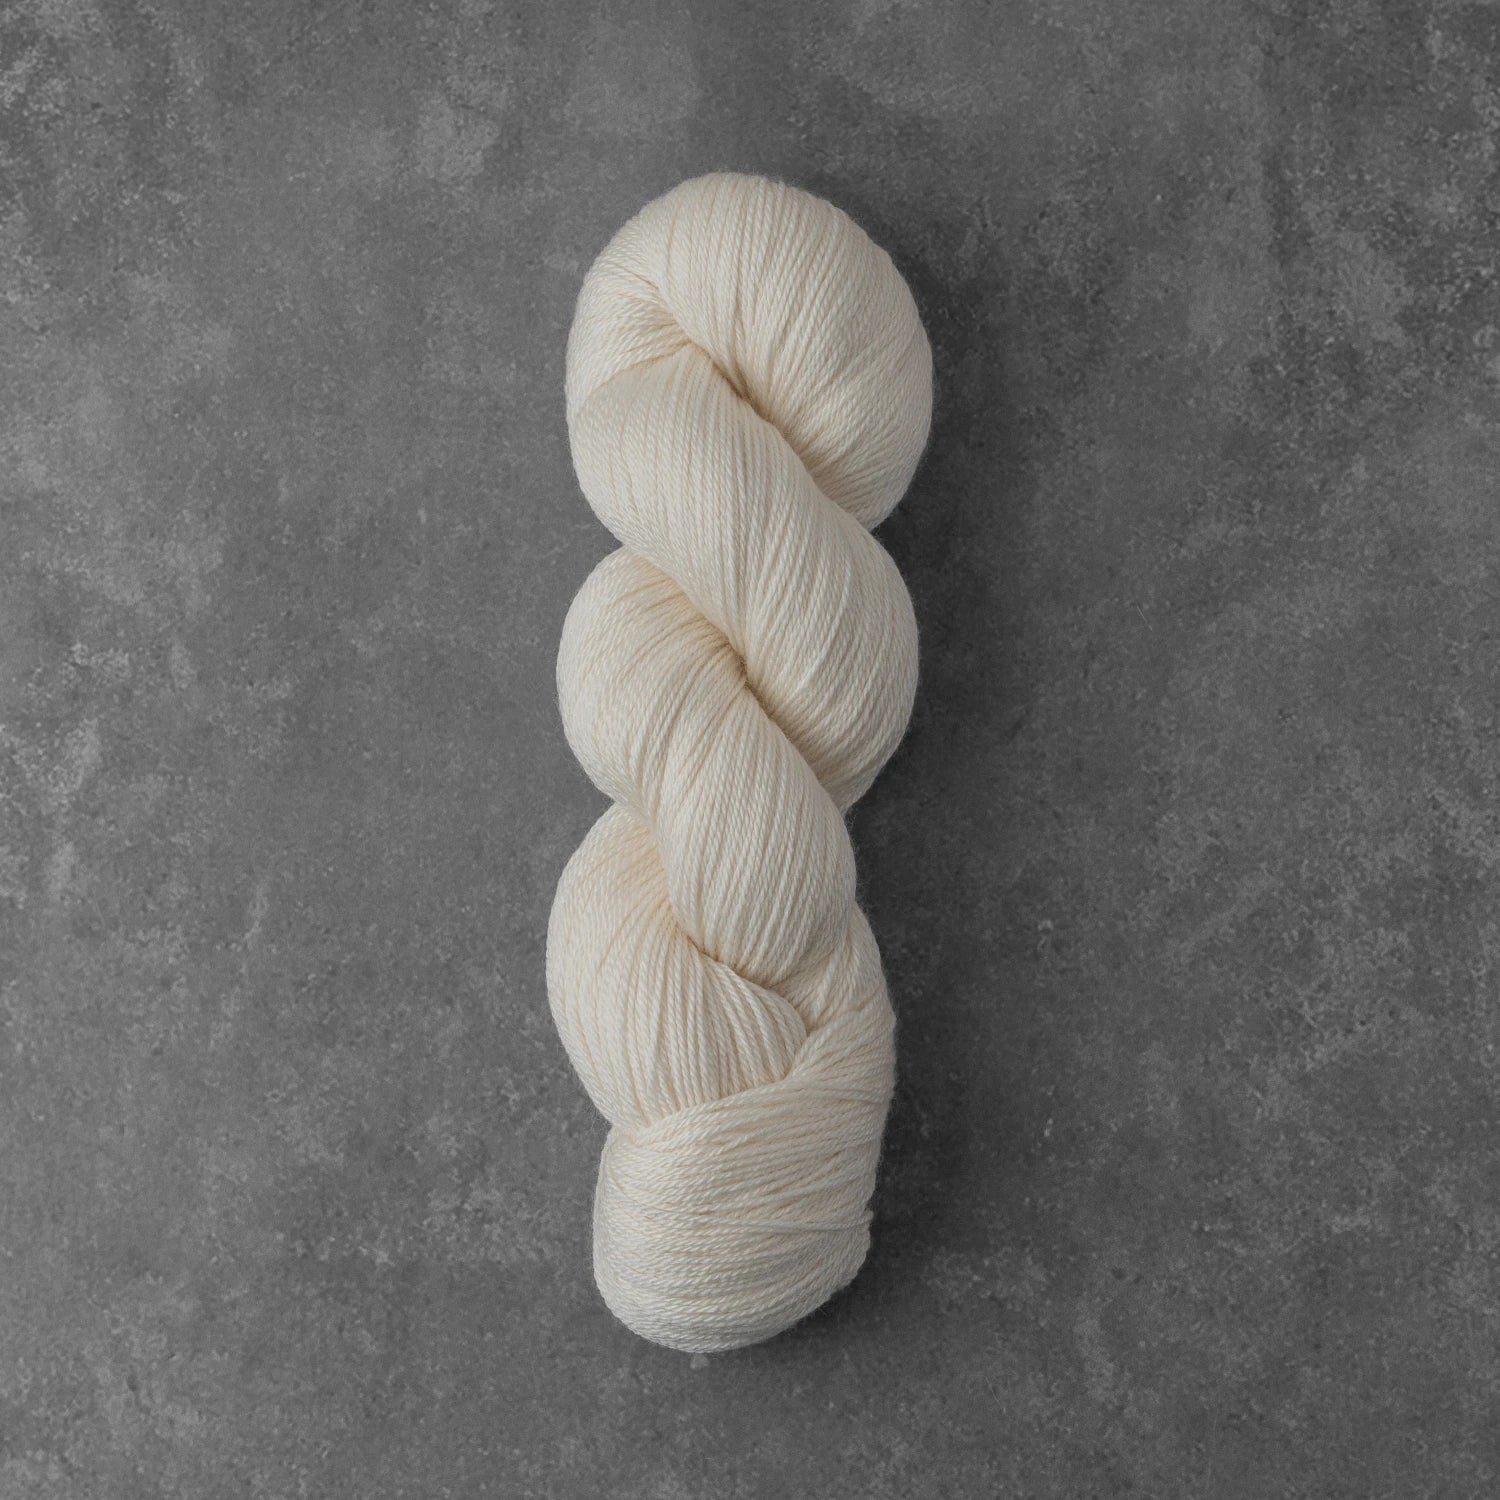
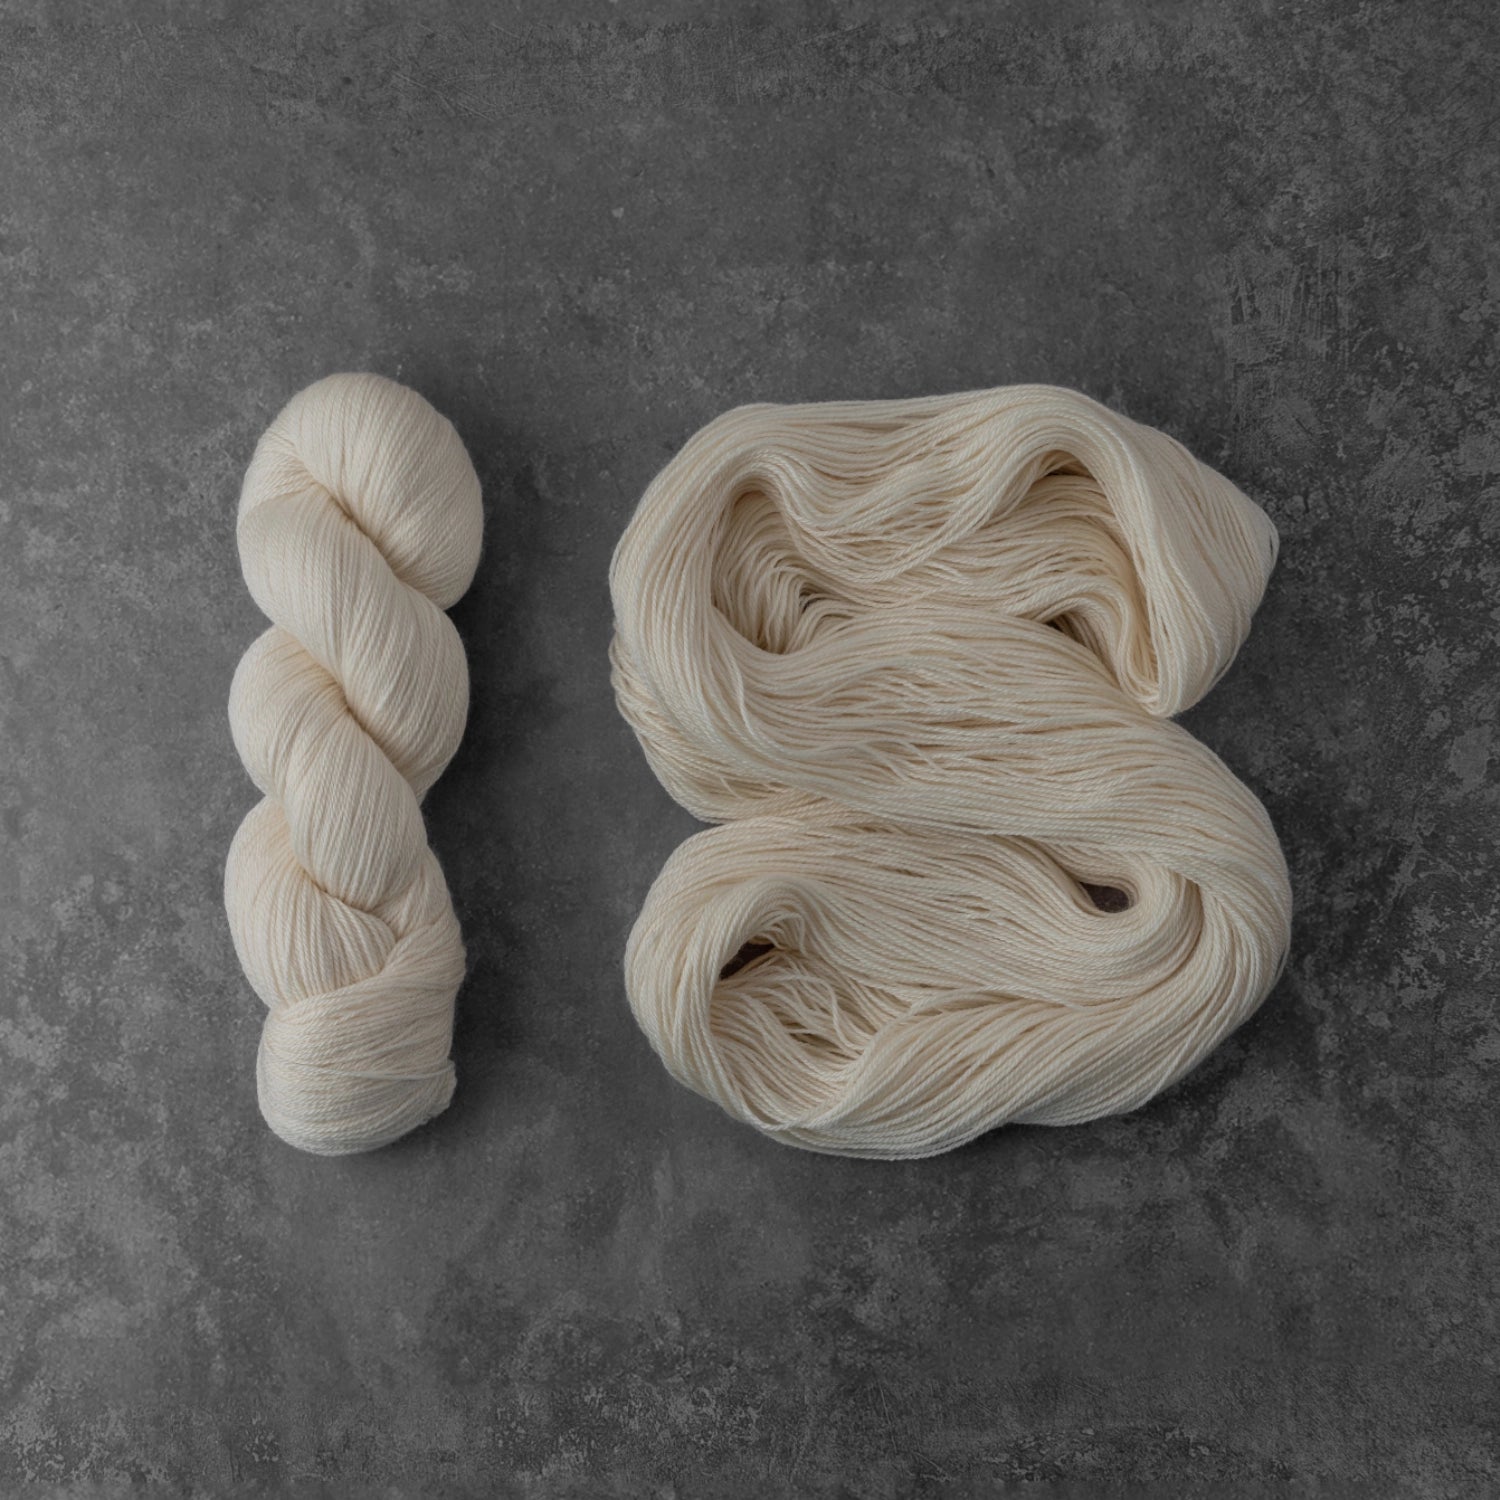
A blank canvas in every skein
In a world full of color, we specialize in undyed natural yarn that lets fibre artists shine. Explore a menagerie of weights and textures that bring knitted projects to life.
Our Collections
Featured Collections
Fingering / Sock | 80% Fine Superwash Merino Wool 21.5 mic20% Recycled Nylon
Fingering / Sock | 90% Extra Fine Superwash Merino Wool 19.5 mic10% Recycled Nylon
DK Weight | 100% Fine Superwash Merino Wool 21.5 mic
Worsted / Aran | 100% Superwash Wool 21.5 mic
Fingering / Sock | 75% Extra Fine Superwash Merino Wool 19.5 mic25% Recycled Nylon
Fingering / Sock | 75% Superwash Wool 21.5 mic / 25% Recycled Nylon
DK Weight | 75% Fine Superwash Merino Wool 21.5 mic25% Recycled Nylon
Fingering / Sock | 75% SuperwashWool 21.5 mic / 25% Recycled Nylon
Fingering / Sock | 60% Fine Superwash Merino Wool 21.5 mic30% Pima Cotton10% Linen
DK Weight | 100% Patagonian Woolen Spun Merino Wool 21.5 mic
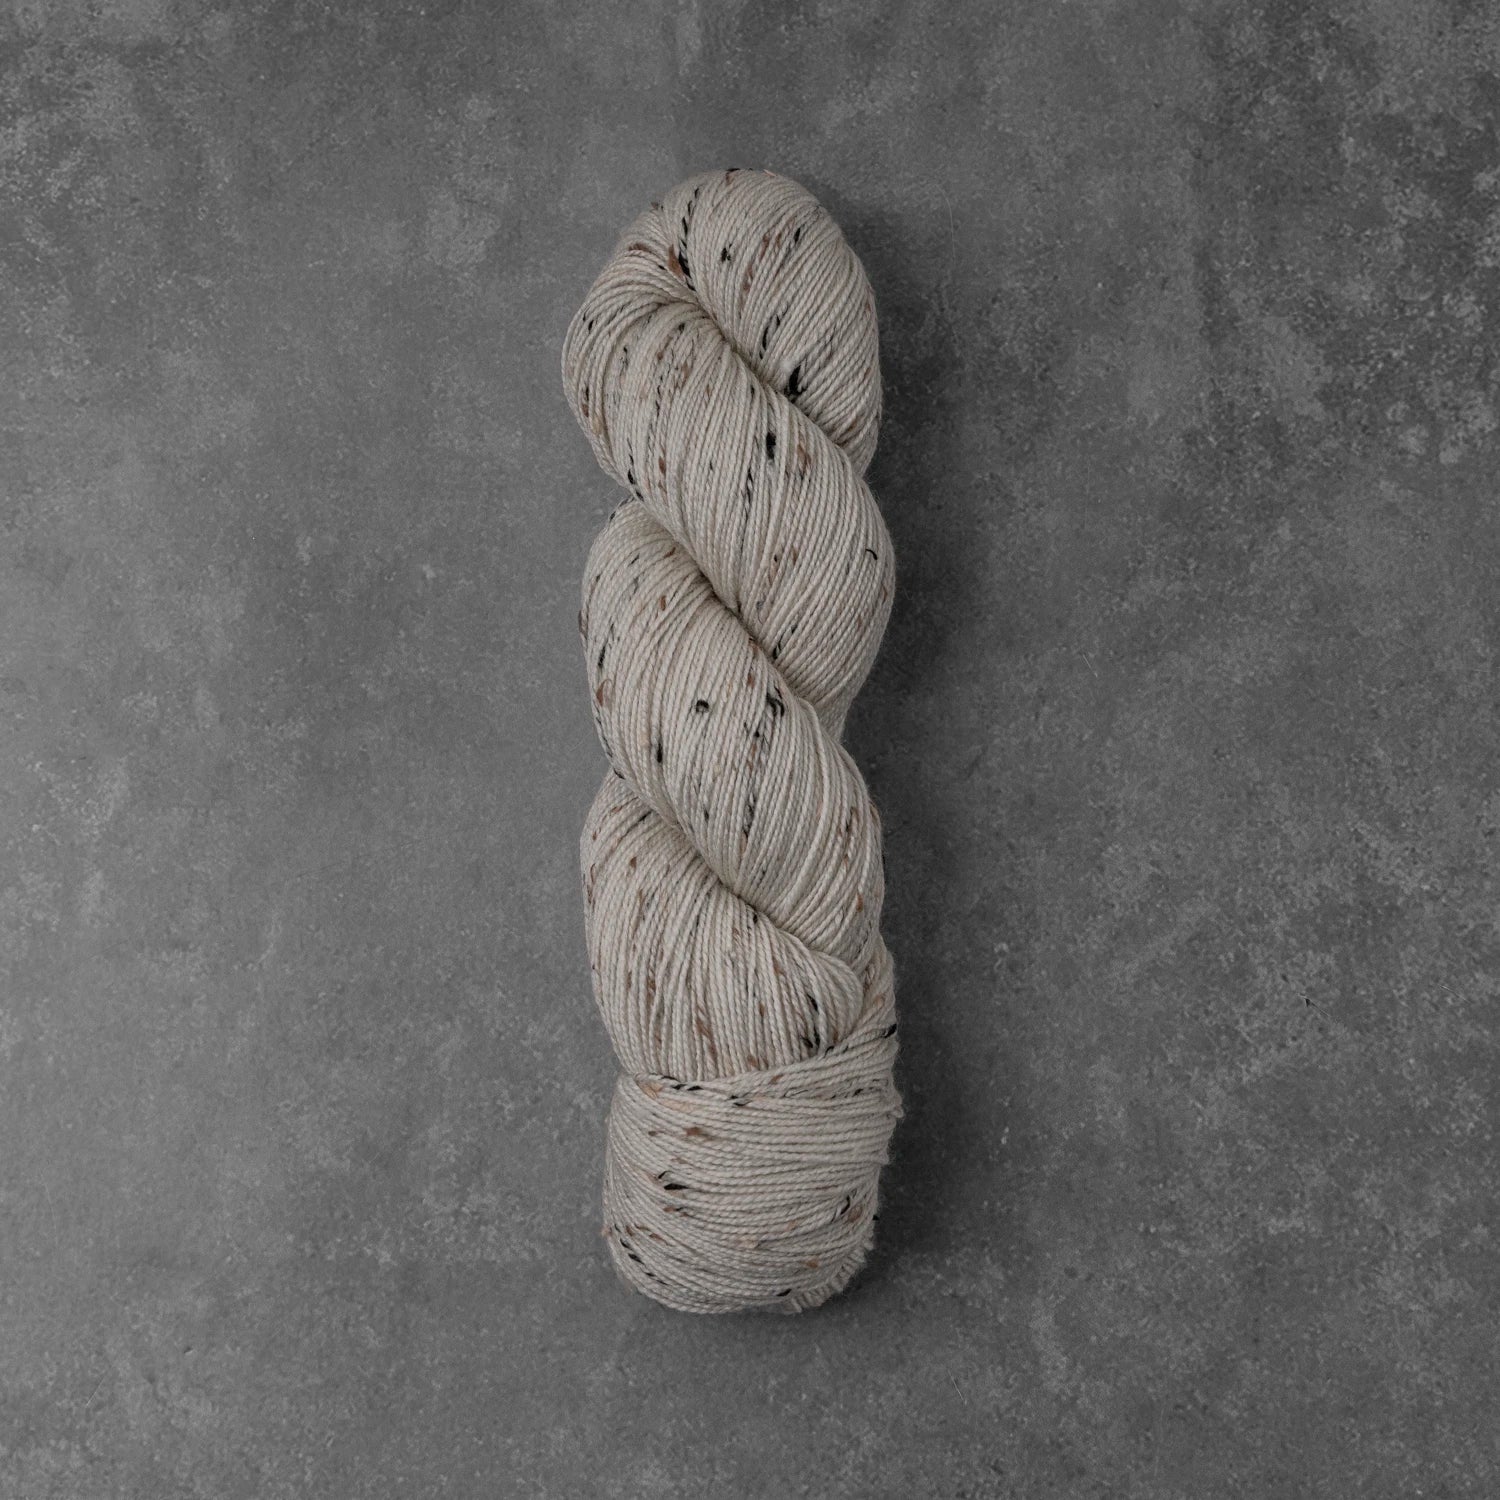
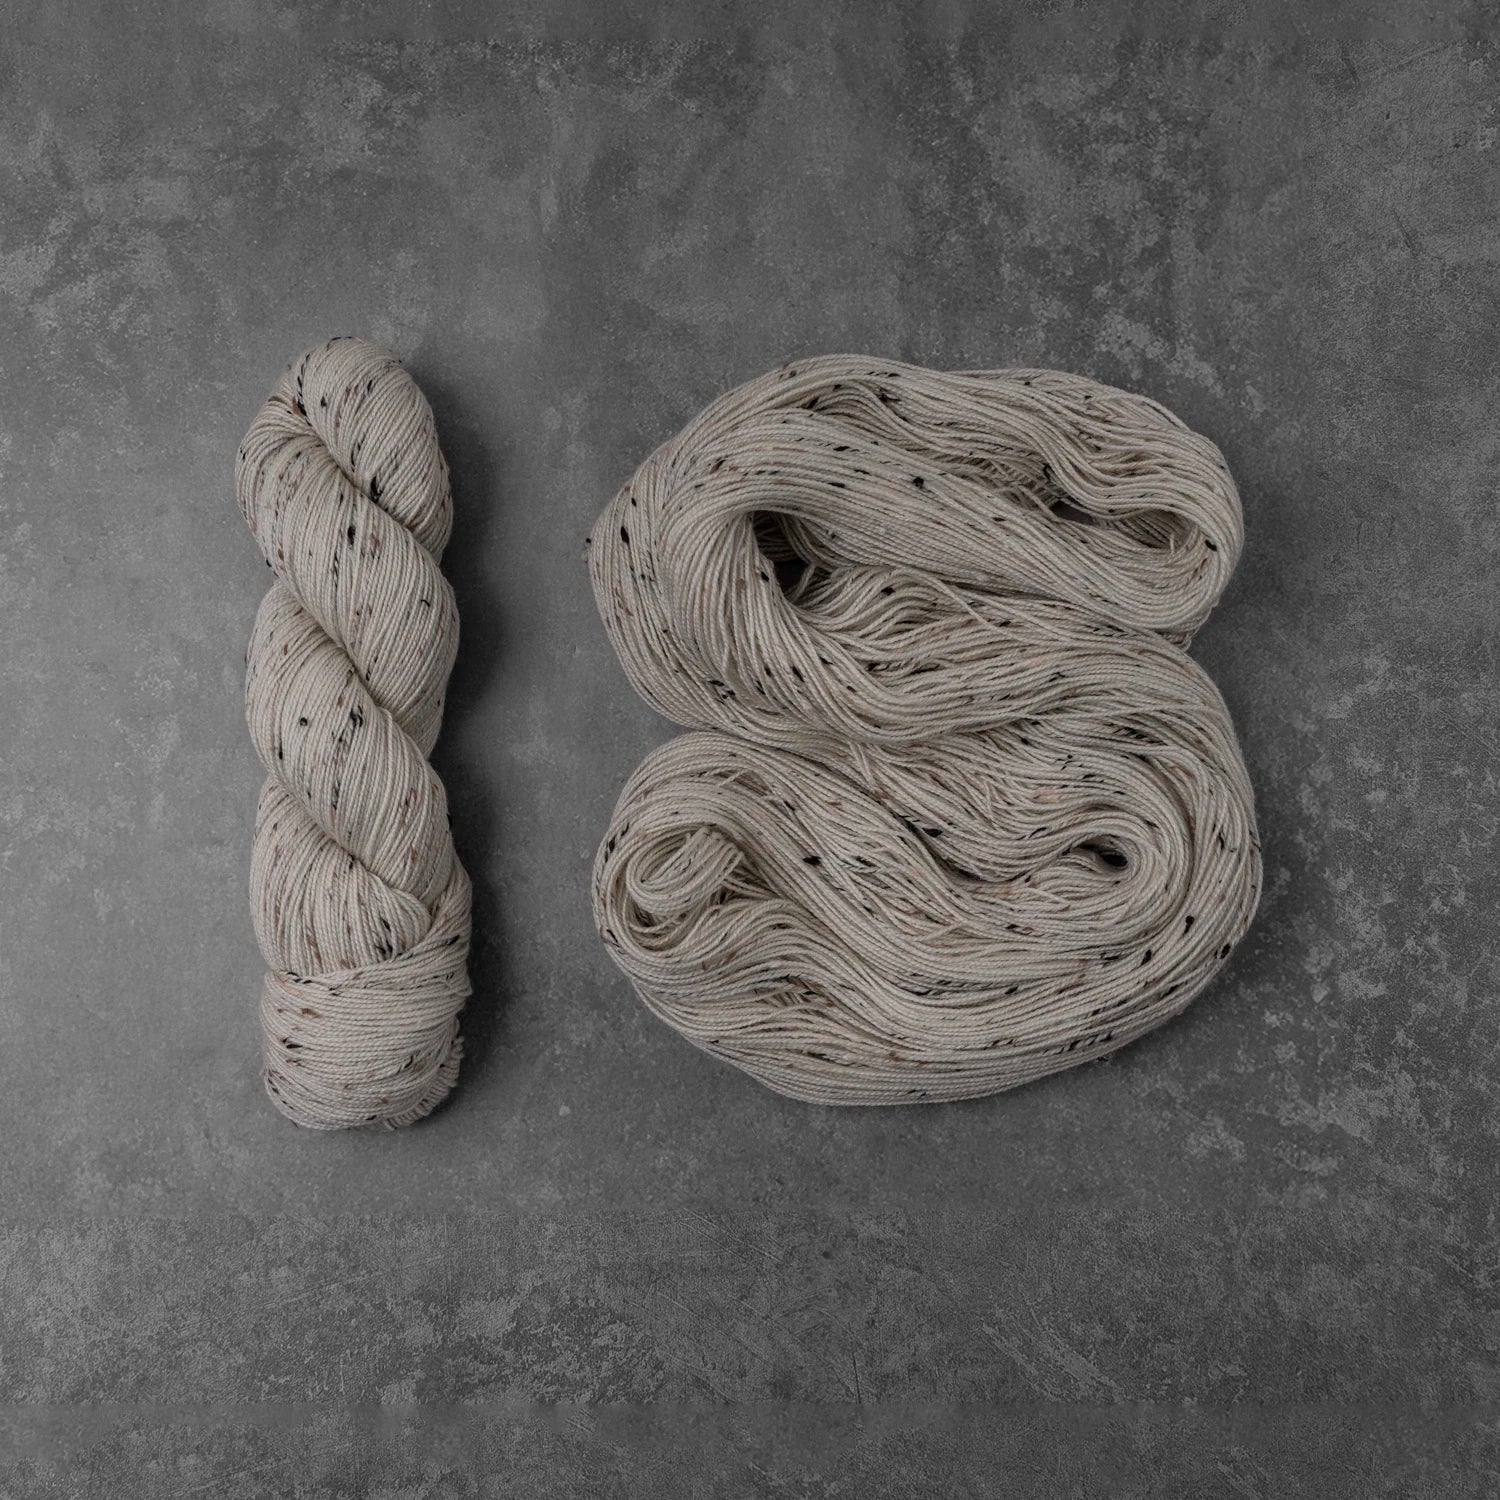
Fingering / Sock | 85% Fine Superwash Merino Wool 21.5 mic15% Donegal Tweed Nep
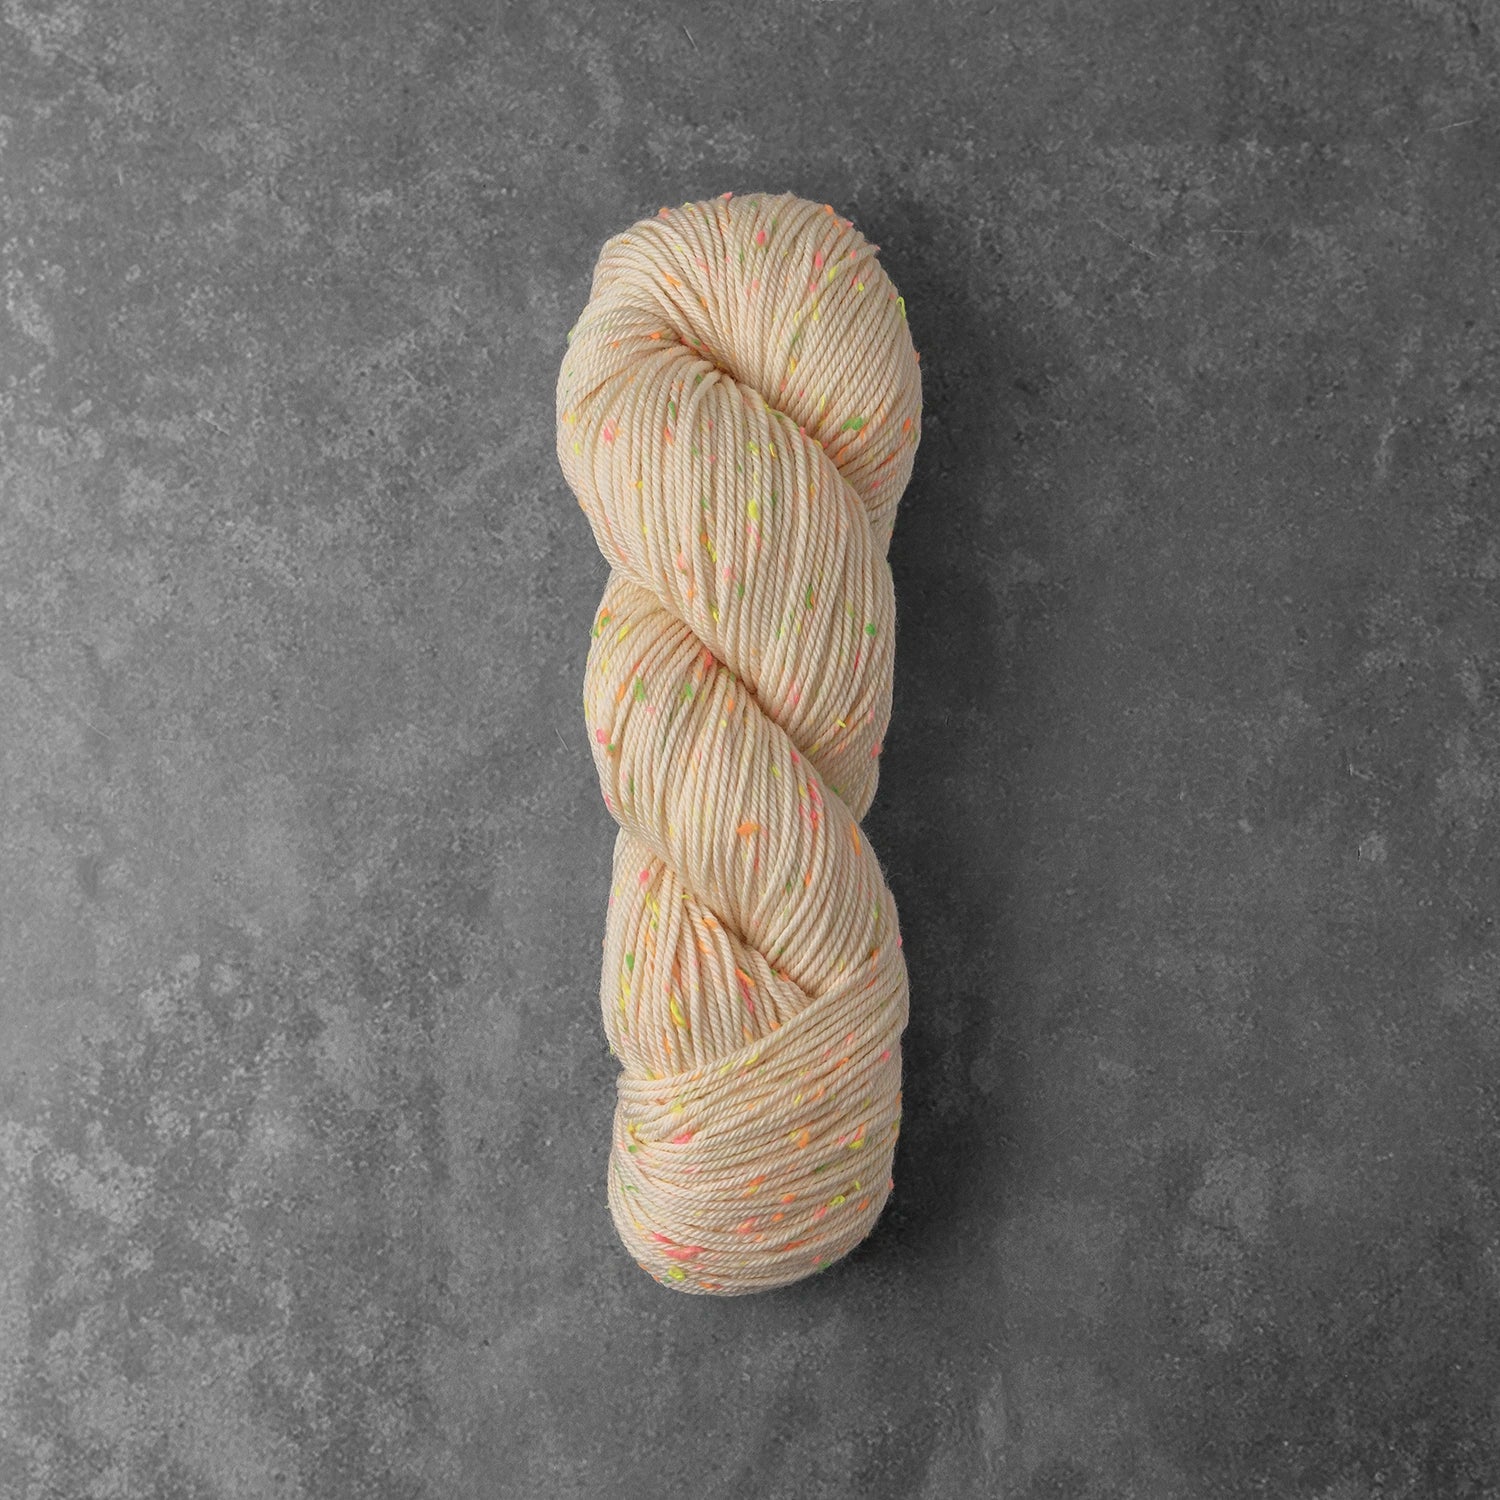
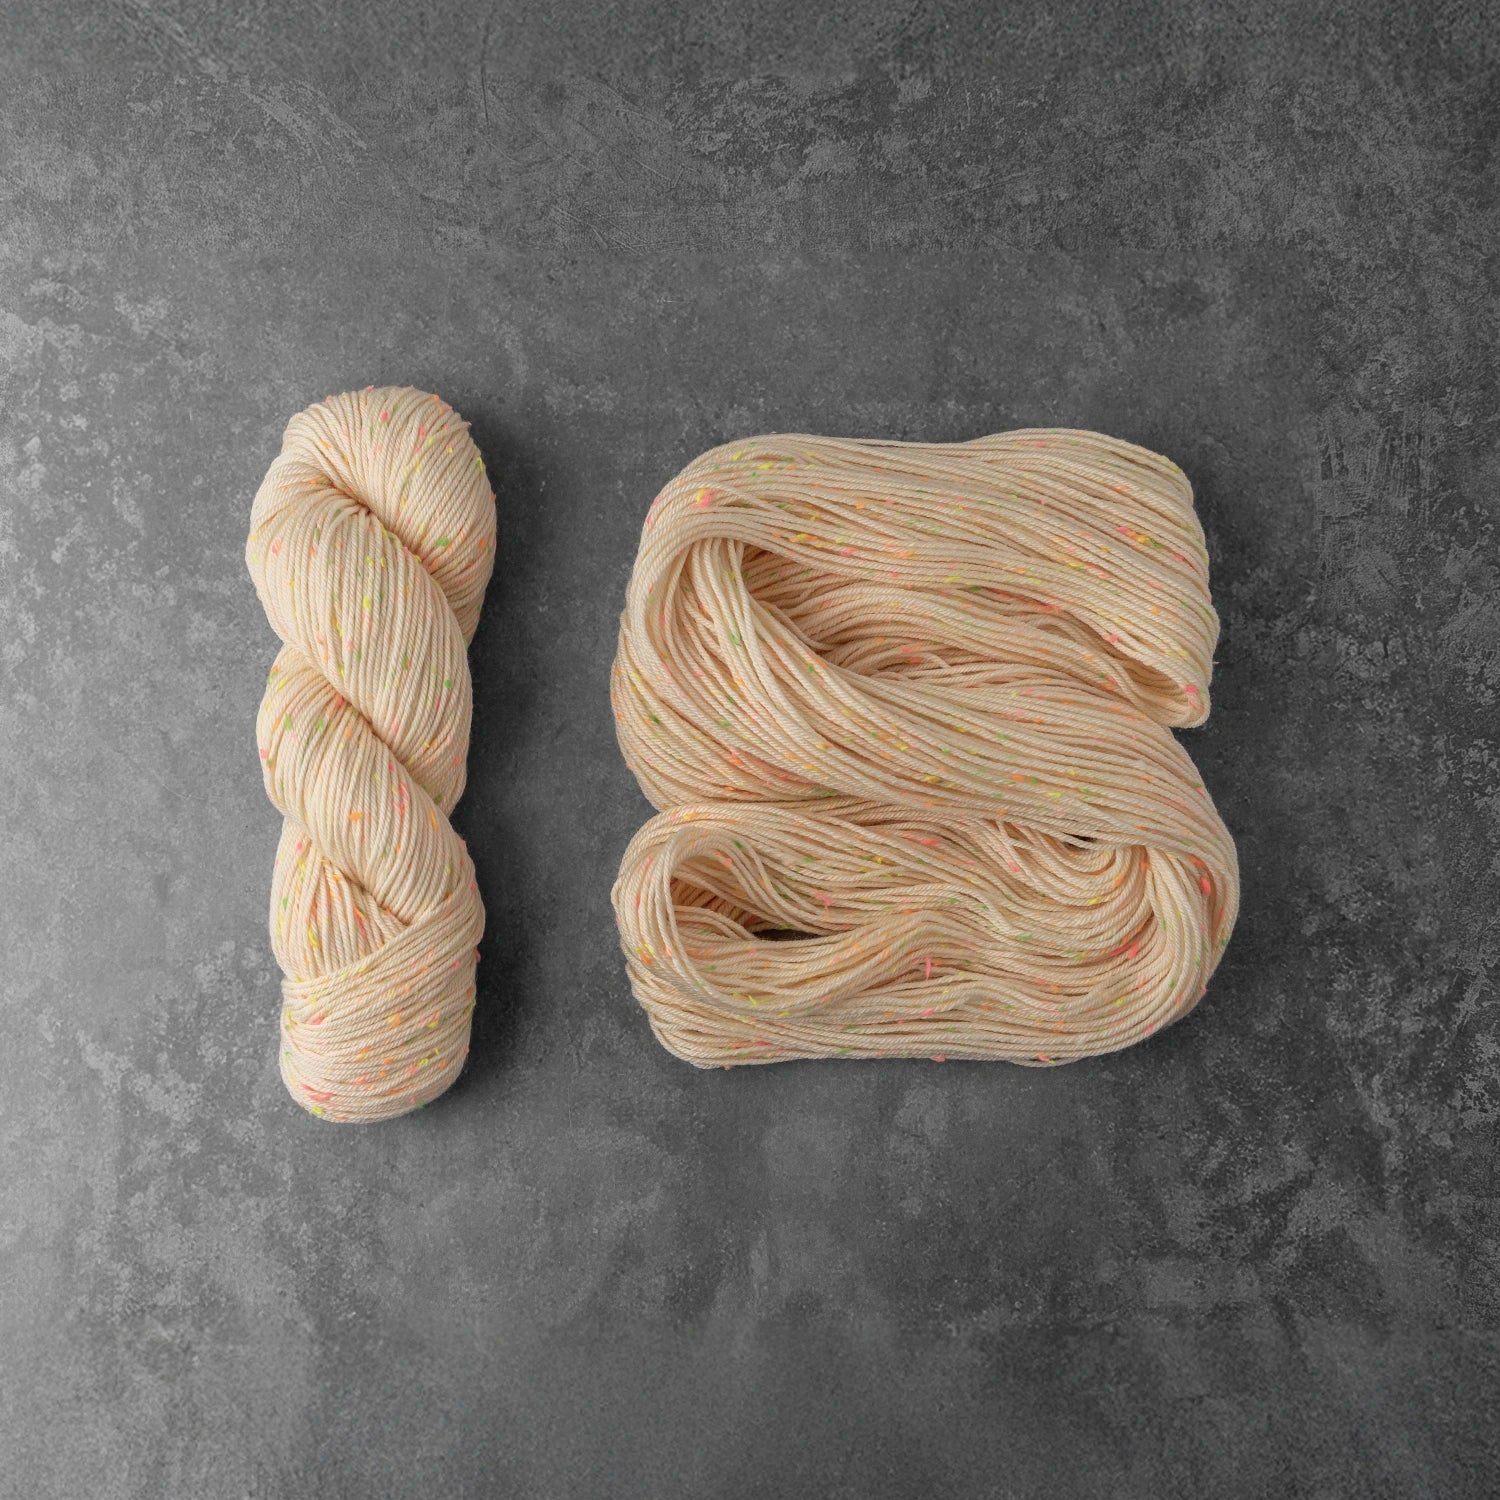
DK Weight | 85% Extra Fine Superwash Merino Wool 19.5 mic, 15% Donegal Neon Tweed Nep
Fingering / Sock | 100% Patagonian Woolen Spun Merino Wool 21.5 mic
Fingering / Sock | 50% Fine Superwash Merino Wool 21.5 mic,50% Mulberry Silk
Worsted / Aran | 100% Patagonian Woolen Spun Merino Wool 21.5 mic
Fingering / Sock | 65% Fine Superwash Merino Wool 21.5 mic,35% Bamboo
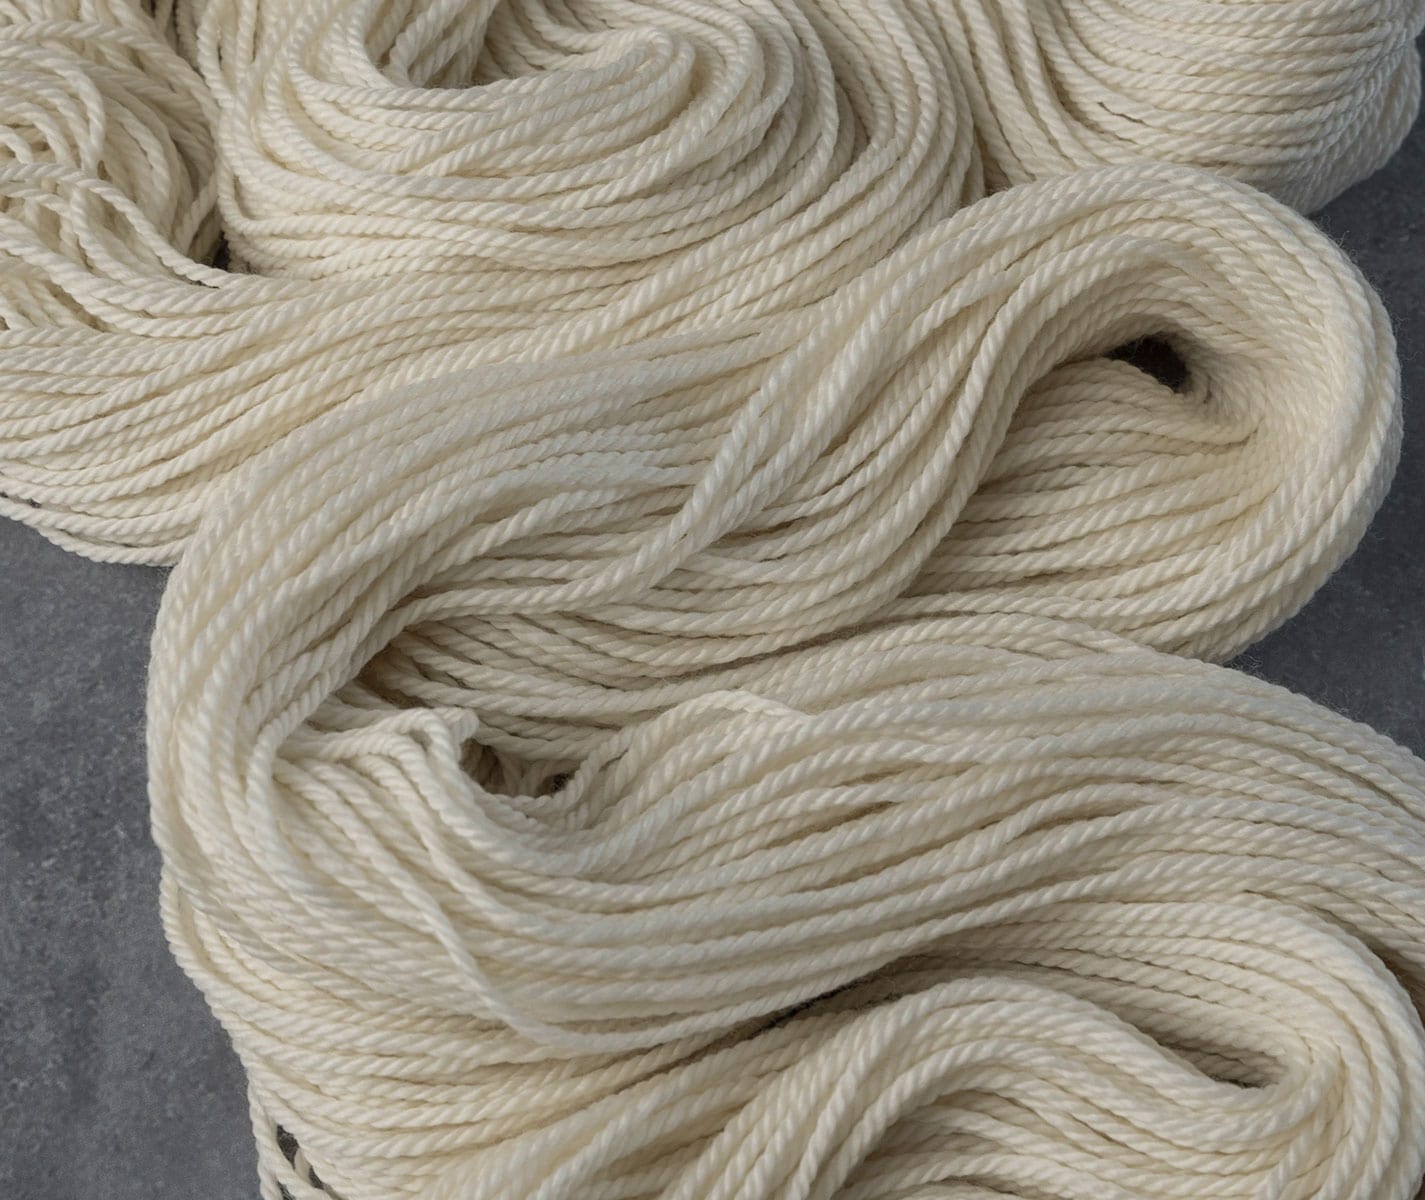
Take them for a spin
Our Newest Yarns
Discover the latest additions to our carefully-curated collection. We handpick fibres that dye in vivid color and feel delightful to the touch.
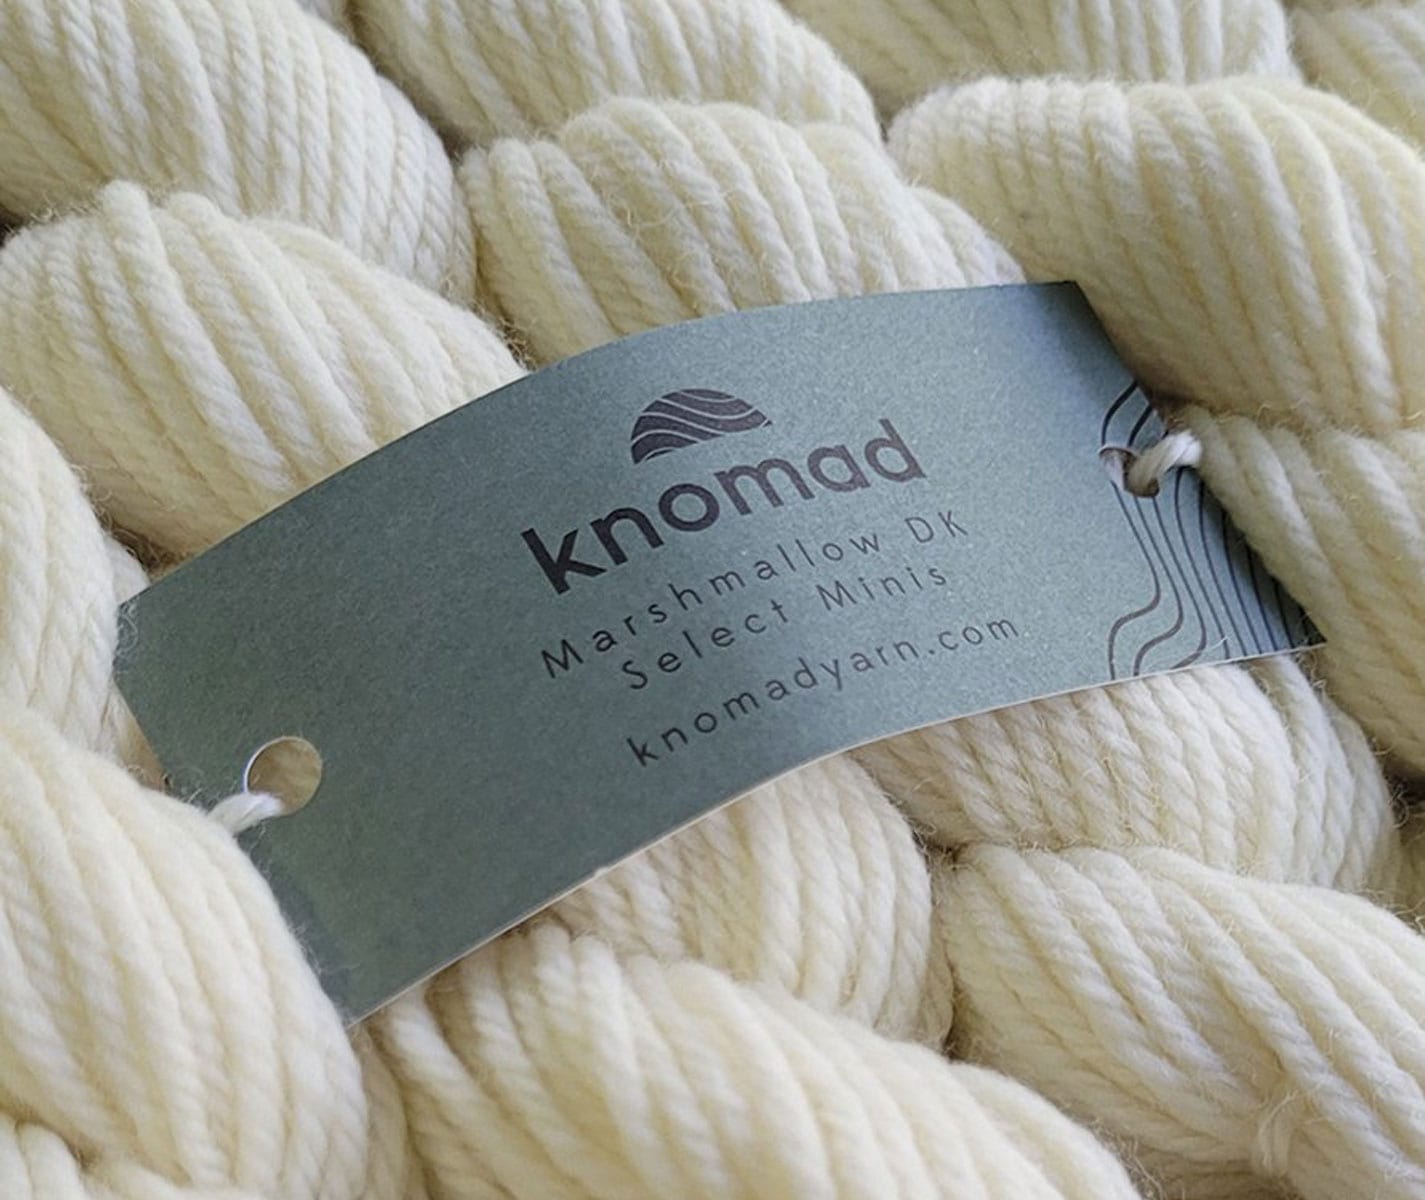
A natural state
Non-Superwash
Our untreated yarns are beloved for their predictability in the finished knit, ideal for colorwork knitting and crochet.
How To Dye Yarn
Tutorials, step-by-step guides & techniques
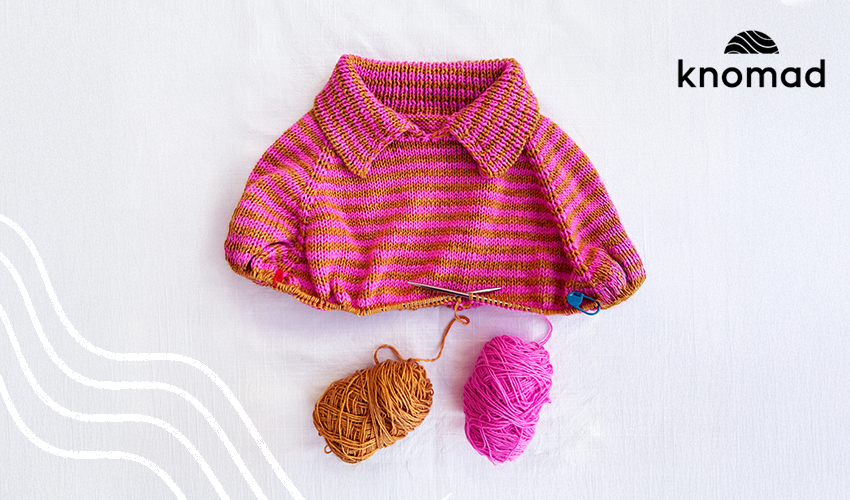
Dye and Knit a Stripe Pullover in Soleil Fingering Merino Cotton Yarn
Since my love of knitting sweaters is well documented on this blog, you know full well that I struggle with the warmer months in LA. Finding exciting projects and creating cute knit-centric outfits...
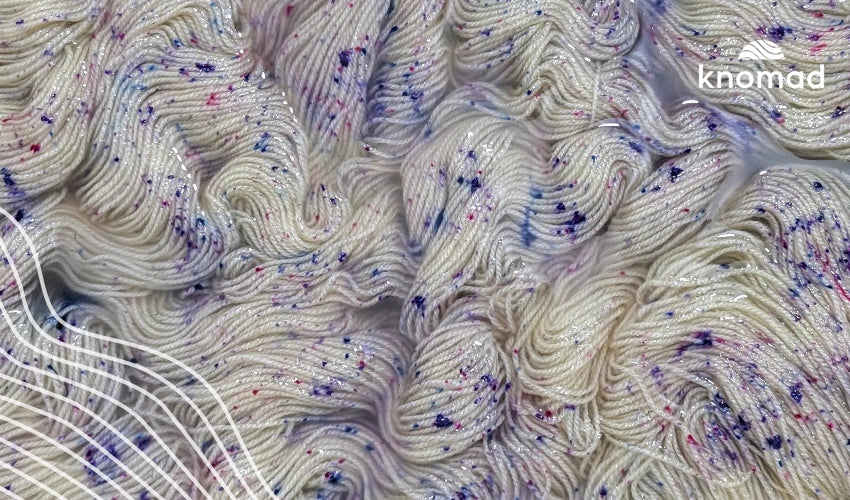
Dying new summer blend yarn Verano with fiber reactive dyes
Featuring: Verano from Knomad 60% Fine Superwash Merino Wool 21.5 mic 30% Pima Cotton 10% Linen Our Goal: Do a mini study on a mixed fiber base to see the difference in dye uptake and speckleabi...
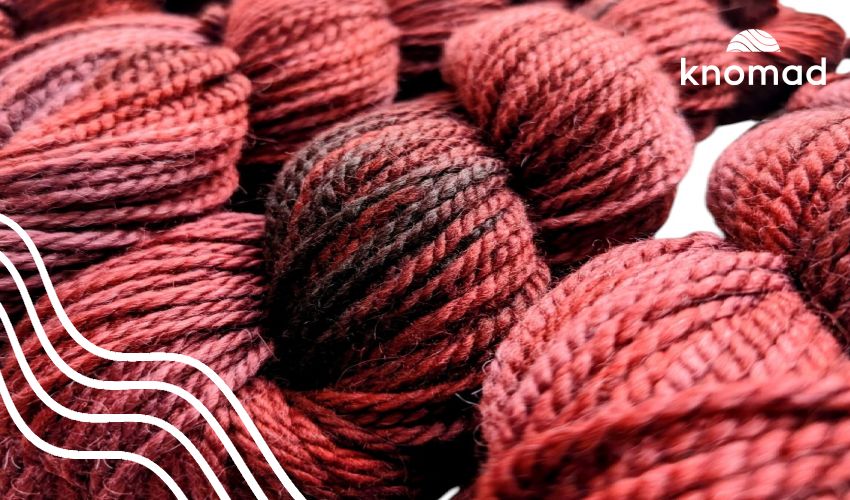
Dyeing our new Alpaca and untreated Merino yarn Misti
Featuring: Misti, a 60% Fine Merino Wool 21.5 mic, 40% Baby Alpaca blend. Our Goal: How do we get a solid, rich, even saturation on a non superwash/alpaca blend? Abstract: Non - Superwash an...
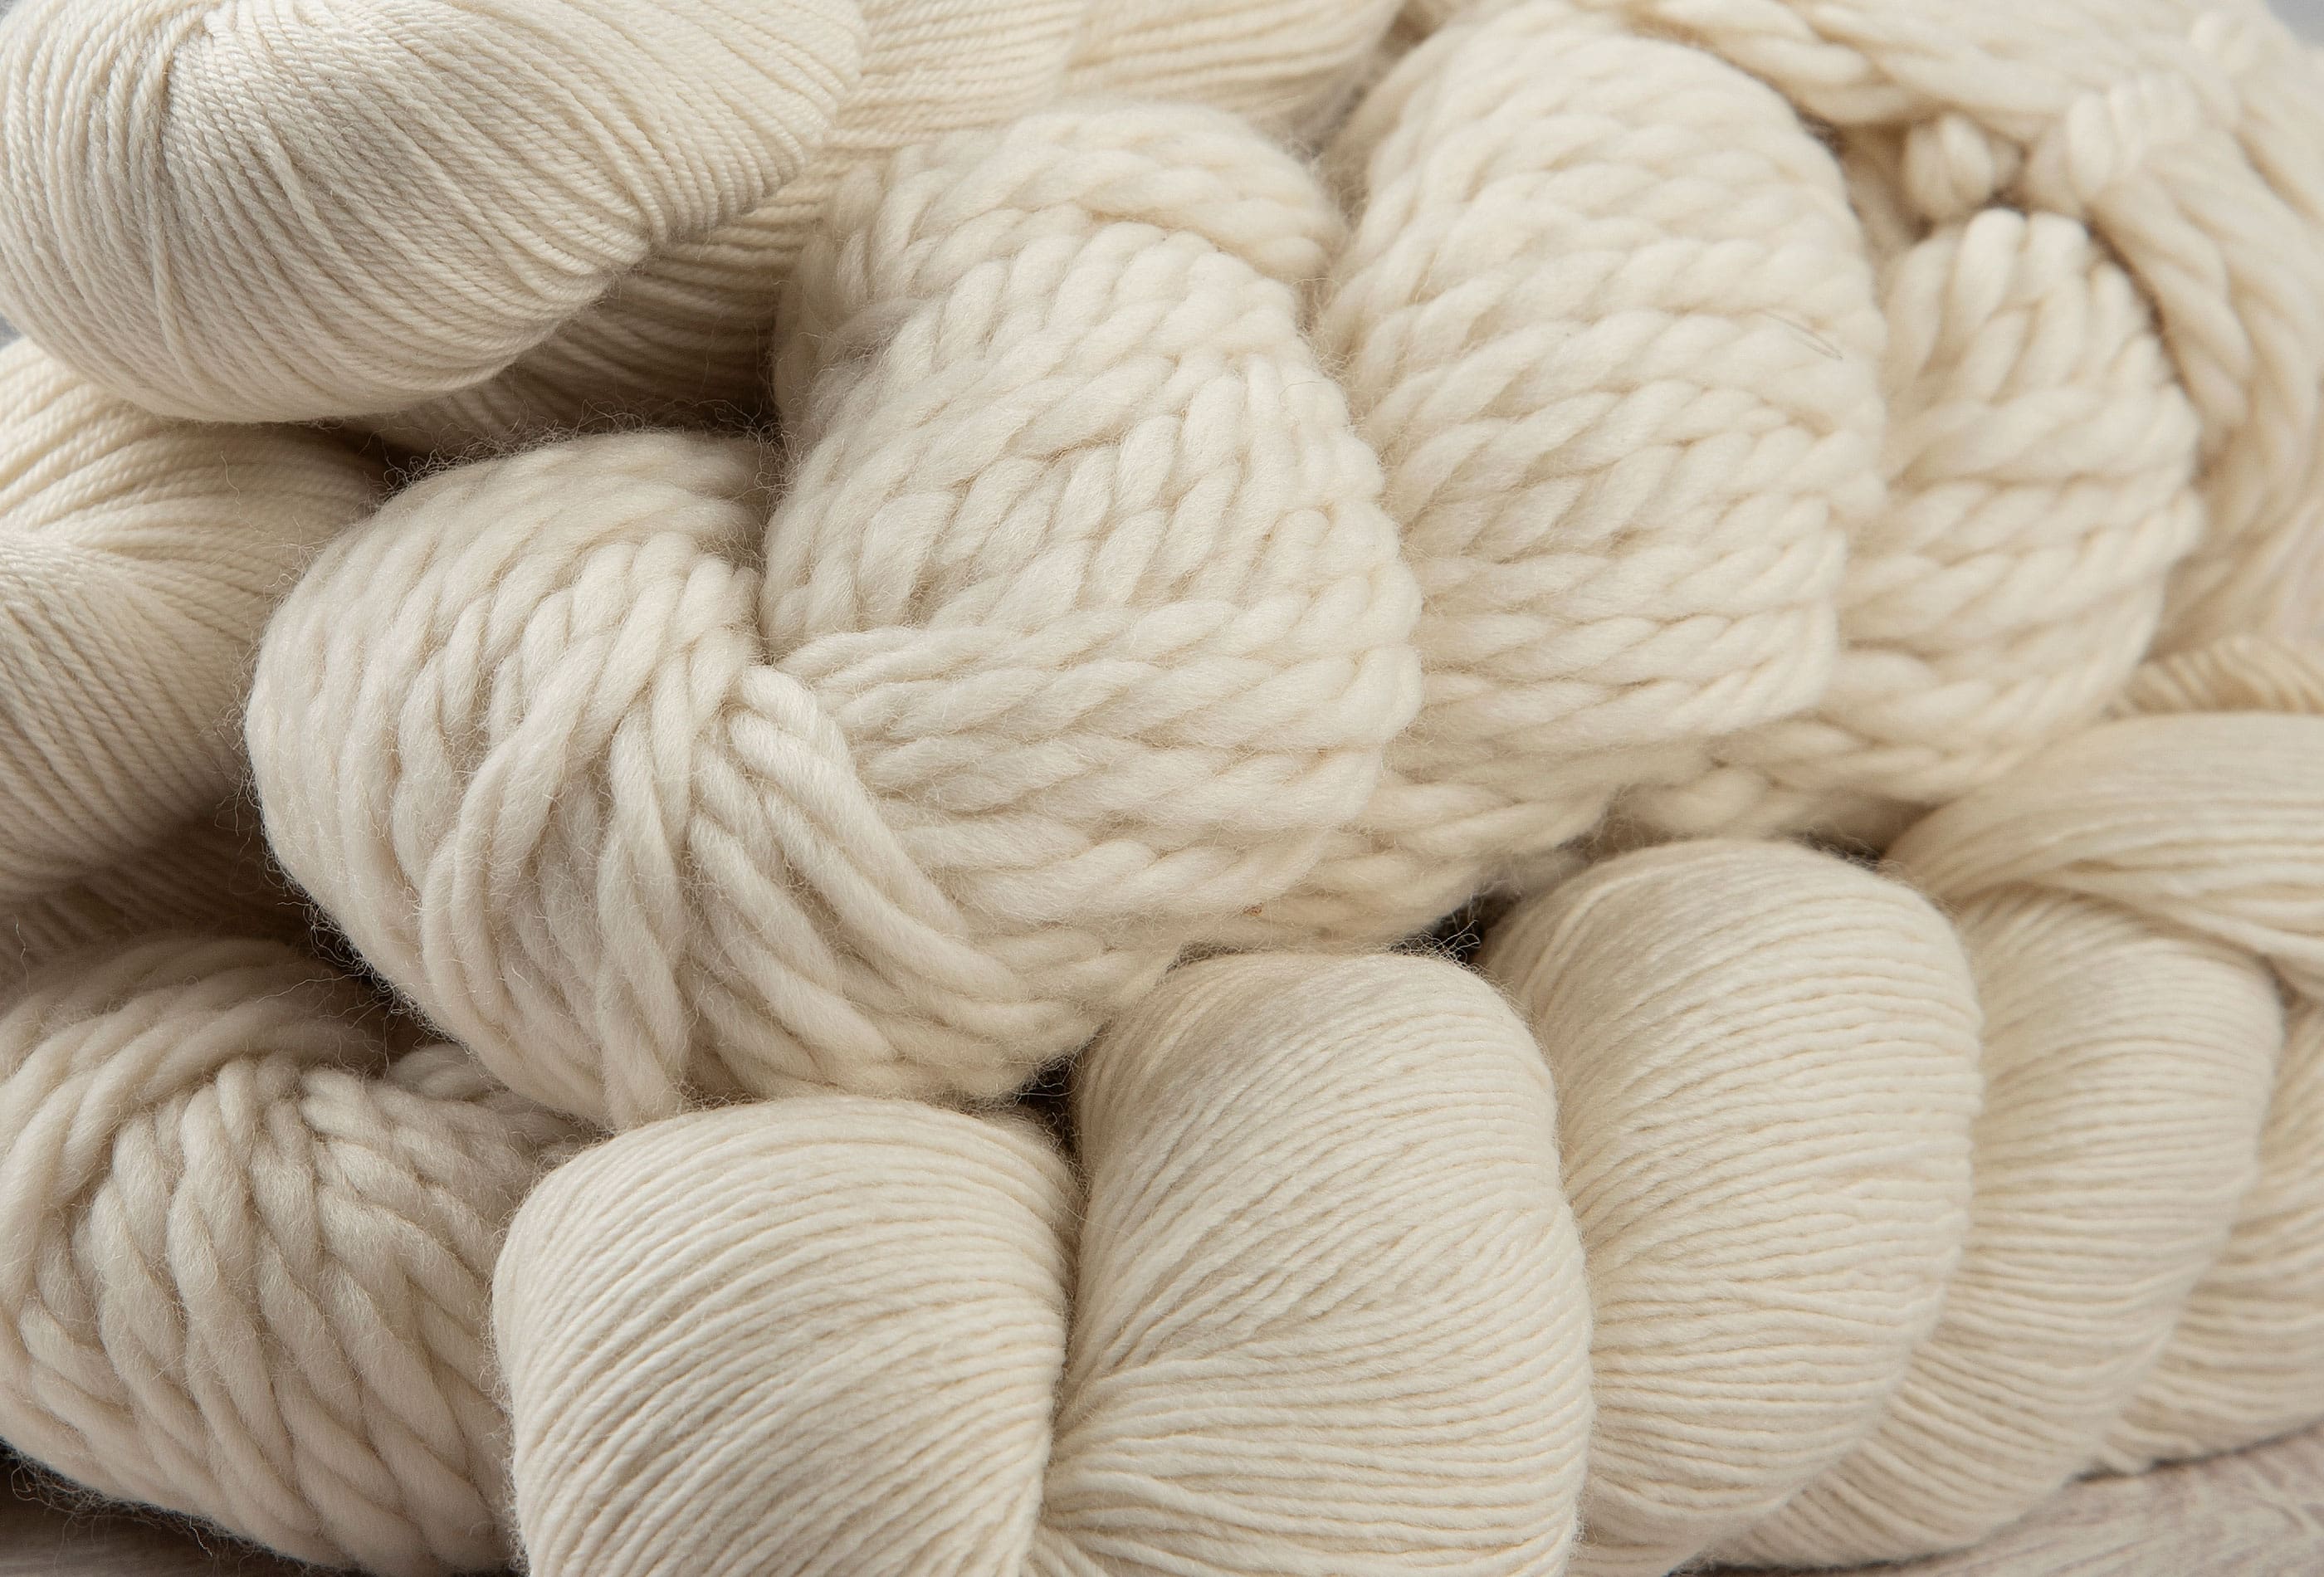
About Knomad Yarn
We supply indie dyers and fibre artists with high-quality, undyed natural yarns from all over the world.


