Kettle Dyeing an Air Jet Alpaca Blend
Featuring: Knomad Meringue (70% Baby Alpaca, 7% Wool,
23% Nylon)
Our Goal: To achieve a kettle dyed look on an alpaca base and learn about the characteristics of this fiber and best practices to dye it to maintain the beautiful halo.
Abstract: Baby alpaca is a delightfully warm and soft fiber, but requires extra finesse while dyeing it to maintain it’s delicate halo. A layered dye approach utilizing multiple techniques will give the yarn a watercolor effect, which would otherwise be solid shade if we put all the dye in at once.
For those with time to read the finer details, let’s dive in!
YOU WILL NEED:
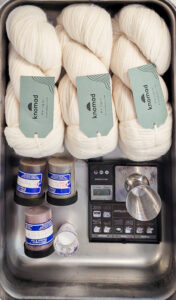
- 3 Skeins of Meringue from Knomad
- Gloves
- Respirator
- A way to heat set your yarn (steamer, proofer, oven, induction plate)
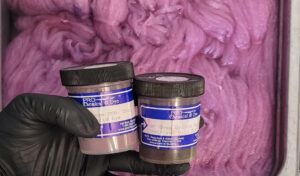
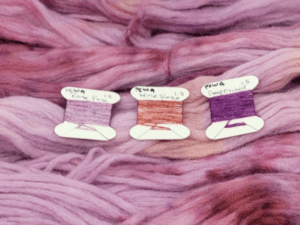
- Acid-Reactive Dye from Pro Chem Washfast acid in Rose Pink, Wine Rose, Deep Orchid, Cantaloupe
- 4” deep stainless steel restaurant tray
- Citric Acid
- Gram Scale
- Tongs
- Synthrapol textile detergent
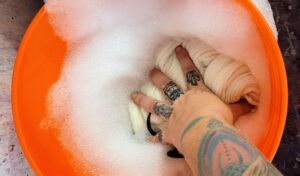
First, we need to properly whet out our fiber so that the dye penetrates evenly. Fill a large bucket with 3 gallons of water and a teaspoon of synthrapol. Let the yarn soak overnight. I highly recommend you use a locking shower ring or recloseable zip tie so you can easily pick the yarn up – it’s delicate and fishing it out with our hands could tangle it.
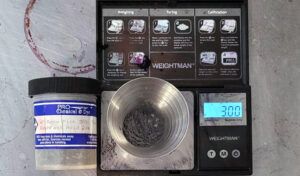
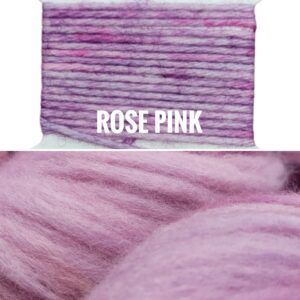
Next, weigh out Pro Chem Washfast Acid in Rose Pink at 1% degree of strength per weight of goods. Since we’re doing three 100 gram skeins, the formula looks like this: 300 grams yarn x .01 d.o.s. = 3 grams of dye
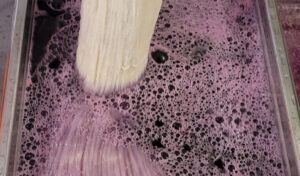
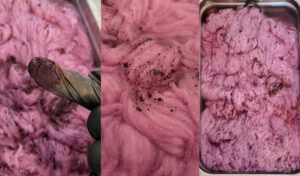
Now we fill a 4” or deeper stainless steel tray with 3 grams of dye 3 inches of water. Transfer the wet yarn from the soak bucket into the dye bath.
I let the yarn soak for about 4 hours without citric acid, gently moving around so that all the dye is evenly penetrating the skein. I want an even background with no white patches for our first dye pass.
Now, we’re ready to add our citric acid and heat set. Mix a Tablespoon of citric acid with 1000 ML of hot water, lift the skeins out of the bath, pour in the citric acid water, and resubmerge. I use a double induction plate to bring the yarn up to 200 degrees – 212 is boiling and we definitely do not want to boil it. It is vitally important with this base that it is not microwaved and the temperature is gradual heating up and cooling off. This base has an incredible airy texture that we want to preserve.
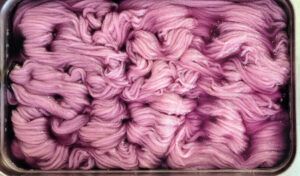
After 30 minutes, the dye should be fully absorbed. I pull back a section of yarn at the top right corner of the pan to make sure there’s no tint to the water. When it’s clear, you’re ready for adding in some color dimension. You might be asking, why not just throw all the dye on at once and save some steps?
That works on superwash bases and sometimes on low micron non superwash if it’s been brought up to 200-210 degrees. But due to how slowly the dye particles bind to the alpaca, the colors would have mixed together long before it’s adhered to the fiber and thus, you’d end up with something solid shade. And this tutorial is about achieving the watercolor multi-tone effect!
We’re going to be dropping very small amounts of dye powder over the top of the yarn with a high water table and using tongs to submerge the dry dye powder to “fake” the effect of dye breaking.
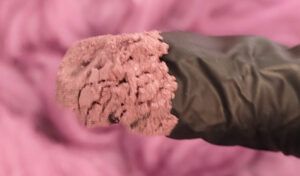
How small? This much of wine rose, pinched between the fingers and dropped evenly over the skeins while the yarn is still at 200 and the heat is on.
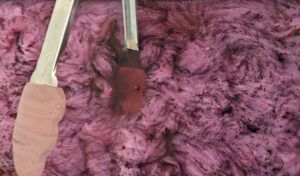
Next we sprinkle in the deep orchid, it should look something like this:
Now we take a pair of tongs and gently submerge the dye powder to melt it into the skein. This is where creative license takes over, and you assess the amount of pinpoint color or color diffusion you want according to your tastes.
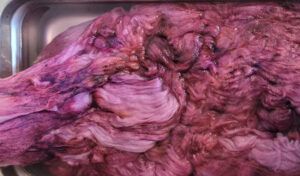
Let the dye absorb over the next 5-10 minutes. Are you happy or do you want to add more color? I decided it was time for more color, so I carefully lifted the 3 shower rings up and flipped the skeins so the bare underside was now on the top and the speckles facing down.
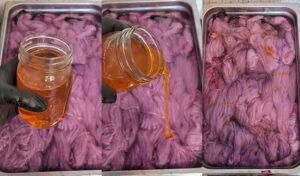
It wouldn’t be a Frost Yarn dye tutorial without a mid-batch course change, and I decided to paint in some Cantaloupe, .15 grams of dye to 200 ml water across the back. I like dimension in my colorways, and this was skewing entirely too purpley-pink and needed a touch of orange to balance it. But pouring orange stock across all that dye powder would brown the skein, and we don’t want that!
I let this cook an additional 10 minutes (remember, no boiling, no bubbling, no hot spots!). Cool to room temperature and rinse in cold water. I use the drain and spin cycle on my top load washer to use centrifugal force to drain out all the excess water. I’ve noticed that yarns with a halo do not puff up to their former majesty when dried in an enclosed space from dead wet. And you definitely do not want to twist or squish the water out by hand, yarn is fragile when wet. If you don’t have a top loader, a salad spinner works. If possible, dry in direct sunlight on a laundry rack. Direct sunlight bakes off excess moisture, but if you don’t have direct sunlight then run the heater and put it on a rack in front of a fan.
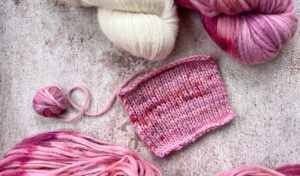
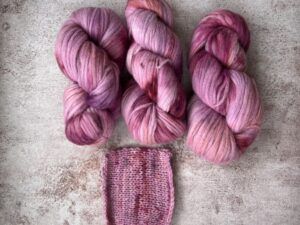
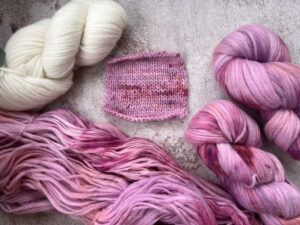
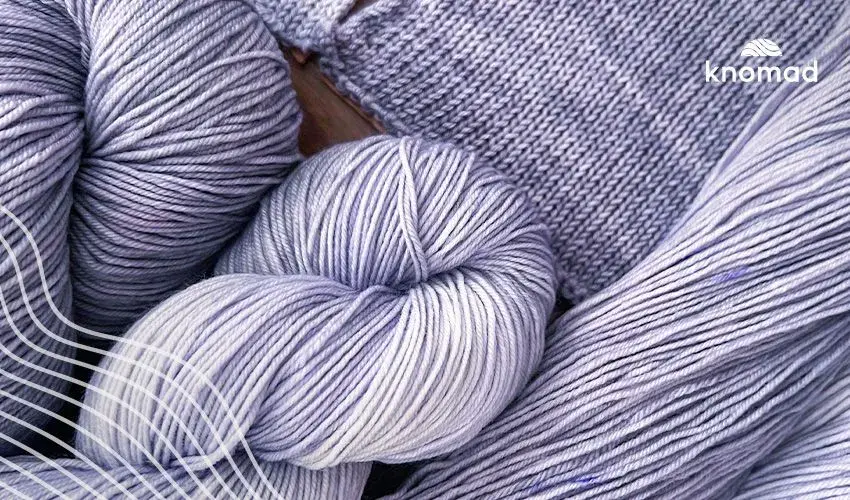
Let’s look at the fruits of our labor, and do a little dive into how the color reflects differently between the superwash color chip and the alpaca base.
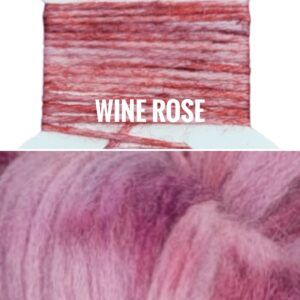
Let’s take a closer look at how each dye reflects the color between the sample (superwash merino nylon) and our baby alpaca base. See in the superwash, despite being dyed solid shade, the color broke into it’s component parts? You can see notes of red, lavender, and a blue cast. On our baby alpaca, all of the individual elements of the dye mixed together and gave us a lovely solid shade.
In our Wine Rose swatch, the warm orangey red and mauve are clearly seen, and in our baby alpaca they combine to shift the color slightly warmer but not visibly “orange.”
In the deep orchid, the cool tone and blue based purple break evenly in the sample and create more of a warm leaning purple with a few small specks of blue in the alpaca.
I hope you found this tutorial on how to kettle dye Meringue and the information on the differences between dye uptake across the different fibers helpful and informative to yourdye process.
Until next time,
Nic




I love it! Thank you! I will definately try it!
Thank you for this tutorial … I had no idea that alpaca dyed differently. I would have ruined my beautiful yarn. I love Nicole’s tutorials. I am so happy she has found a great place to teach. And … I have found a great place to buy fiber. I love the Egret I just bought from you. Kudos to a successful partnership. ~ Karen
Thank you Karen!
An excellent tutorial – thank you for the great tips! -Kelli
Thank you Kelli!